Navigation
In Android development, screens are separated as activities, so we had to jump through some hoops to pass information between activities. In iOS development, life-cycle concepts apply to the whole application, not its individual screens / activities. Two pages back I quoted from the UIWindow class reference which says:
To change the content your app displays, you can change the window’s root view; you don’t create a new window
In our AppDelegate we declared the window's root view by setting the rootViewController
property. So let's learn how to navigate between different views.
New Controller
First let's see what happens if I have my send_message method change the root view of
the window to a blank one without any other modifications.
def send_message
  window.rootViewController = UIViewController.alloc.init
end
You should get a completely blank screen.
New View
A quick look at the UITextView docs tells us that if all we want to do is display some text, we just need to create a text field with a frame and add text to it.
text_view_frame = CGRectMake(15, 80, 265, 40)
text_view = UITextView.alloc.initWithFrame(text_view_frame)
text_view.text = text_field.text
You can add other nice things like a bigger font, making the view non-editable and such but I'll leave that up to you to play with the API and get a text field that you're happy with.
Once you have a view like this we can add it as a subview of our new UIViewController and now the button will take us to a new screen:
new_view_controller = UIViewController.alloc.init
new_view_controller.title = 'Check Text'
new_view_controller.view.backgroundColor = UIColor.whiteColor

text_view_frame = CGRectMake(15, 80, 265, 40)
text_view = UITextView.alloc.initWithFrame(text_view_frame)
text_view.text = text_field.text
text_view.font = UIFont.systemFontOfSize(25)
text_view.editable = false
new_view_controller.view.addSubview(text_view)

window.rootViewController = new_view_controller
Warning -
See what happens if you use view_controller.view = text_view instead of adding it as a subview. You should find that the frame's position / bounds are ignored. Be warned that controllers like this have their own views and you shouldn't mess with them.
I left this code as one big send_message method, but feel free to be a little tidier with how you handle the two screens in the app. I suspect in a real app this would be a point where you might want to break out into multiple files, controllers, etc. but I'm going to avoid that to keep pace.
Navigation
The last thing we need to do, is add back the navigation controller that was originally given to us as boiler plate code. If you've been struggling to get a solid picture in your mind of how these views and controllers are interacting here's the iOS guide for you.
The idea is that a navigation controller is managing a stack of view controllers. You pick one to be the root of the stack and the rest go on top. So let's call the view that has a text field and a button our "home view" and then let's use it to init a navigation controller.
I'll go ahead and show most of the class: pay attention to all the places I renamed the controller to home_controller and don't forget to make the nav_controller the root view
controller of the window.
attr_reader :nav_controller, :home_controller, :window, :text_field, :button

def application(application, didFinishLaunchingWithOptions: launchOptions)
  create_controllers
  create_window
  create_text_field
  create_button
  true
end

def create_controllers
  @home_controller = UIViewController.alloc.init
  home_controller.title = 'FirstApp'
  home_controller.view.backgroundColor = UIColor.whiteColor
  @nav_controller = UINavigationController.alloc.initWithRootViewController(home_controller)
end

def create_window
  screen_frame = UIScreen.mainScreen.bounds
  @window = UIWindow.alloc.initWithFrame(screen_frame)
  window.rootViewController = nav_controller
  window.makeKeyAndVisible
end

def create_text_field
  text_field_frame = CGRectMake(15, 80, 265, 40)
  @text_field = UITextField.alloc.initWithFrame(text_field_frame)
  style_text_field
  home_controller.view.addSubview(text_field)
end

def create_button
  @button = UIButton.buttonWithType(UIButtonTypeSystem)
  style_button
  home_controller.view.addSubview(button)
end
Push and Pop
With a navigation controller in place, and a view controller set as its root, all we need
to do now is just have the send_message method push a new controller onto the navigation stack. If you read the UINavigationController docs you'll see that the methods for this are push and pop. We'll just use push
def send_message
  new_view_controller = UIViewController.alloc.init
  new_view_controller.title = 'Check Text'
  new_view_controller.view.backgroundColor = UIColor.whiteColor

  text_view_frame = CGRectMake(15, 80, 265, 40)
  text_view = UITextView.alloc.initWithFrame(text_view_frame)
  text_view.text = text_field.text
  text_view.font = UIFont.systemFontOfSize(25)
  text_view.editable = false
  new_view_controller.view = text_view

  nav_controller.pushViewController(new_view_controller, animated: true)
end
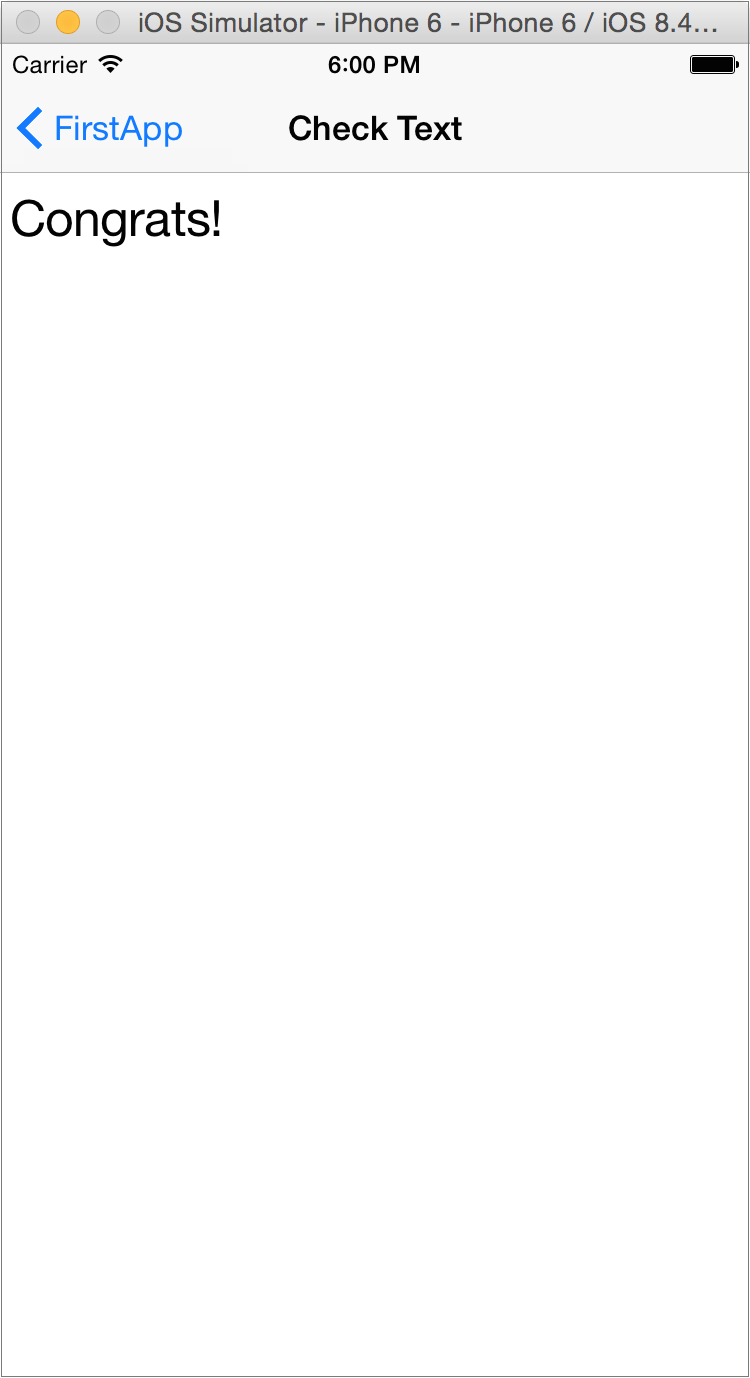
And voila! You now have your first app. It can take input from the user and navigate between view controllers.
Conclusion
I hope in these lessons you've learned a lot. In the future we (hopefully) won't be doing too much of this kind of "low level" programming thanks to some nice gems and other tools that abstract some of this stuff away. But I'm confident that if you spend time in these lessons learning the basics of RubyMotion development, you'll be better able to tackle the problems unique to your programming puzzle.
Next up, let's learn about the other tools that RubyMotion developers use to make writing apps more painless.