First UI
OK, with some of the basics down we're ready to try to create a UI programmatically. To be clear, when I say we're going to create the UI programmatically I mean we won't be using Interface Builder which generates the UI in a non-human readable/writable XML format. I'm going to save a lesson on Interface Builder for the "Toolbox" lessons since it involves Xcode and a 3rd party gem to get going with RubyMotion.
Instead, we'll be finding the classes that represent View objects (like text input-fields and buttons) and manipulating them programmatically.
Some Simple Text Input
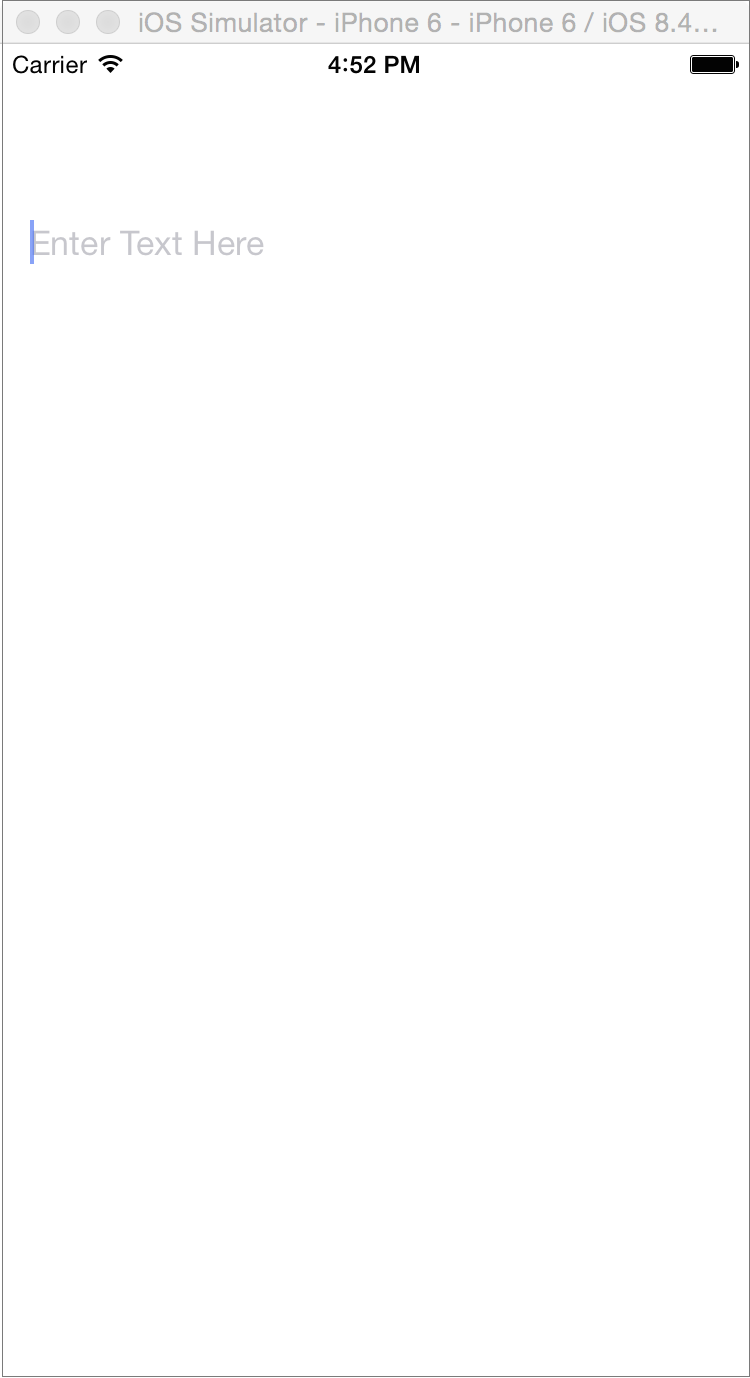
The first thing we'll do is put a Text Field in the app. The class we're looking for is the UITextField class and if you look around the docs for how to create one you'll find nothing. That's because all view objects have the same initialization inherited from the UIView class: initWithFrame. For this example we'll create a little box-frame with hard-coded dimensions. And to finish things up we'll give it a placeholder text before adding it to the window with the UIWindow's addSubview method which it inherits from the UIView class.
class AppDelegate
  attr_reader :view_controller, :window, :text_field

  def application(application, didFinishLaunchingWithOptions:launchOptions)
    create_view_controller
    create_window
    create_text_field
    true
  end

  def create_view_controller
    @view_controller = UIViewController.alloc.init
    view_controller.title = 'First App'
    view_controller.view.backgroundColor = UIColor.whiteColor
  end

  def create_window
    screen_frame = UIScreen.mainScreen.bounds
    @window = UIWindow.alloc.initWithFrame(screen_frame)
    window.rootViewController = view_controller
    window.makeKeyAndVisible
  end

  def create_text_field
    text_field_frame = CGRectMake(15, 80, 265, 40)
    @text_field = UITextField.alloc.initWithFrame(text_field_frame)
    text_field.placeholder = 'Enter Text Here'
    view_controller.view.addSubview(text_field)
  end
end
Sidenote - In the above example I declared window explicitly as needing attribute access
but it's already a property of the UIApplicationDelegate protocol. I'm not sure why I needed
to do this so it's the result of experience rather than knowledge. If someone reading this can teach this to me I'd love to update this part of the tutorial!
Pretty It Up
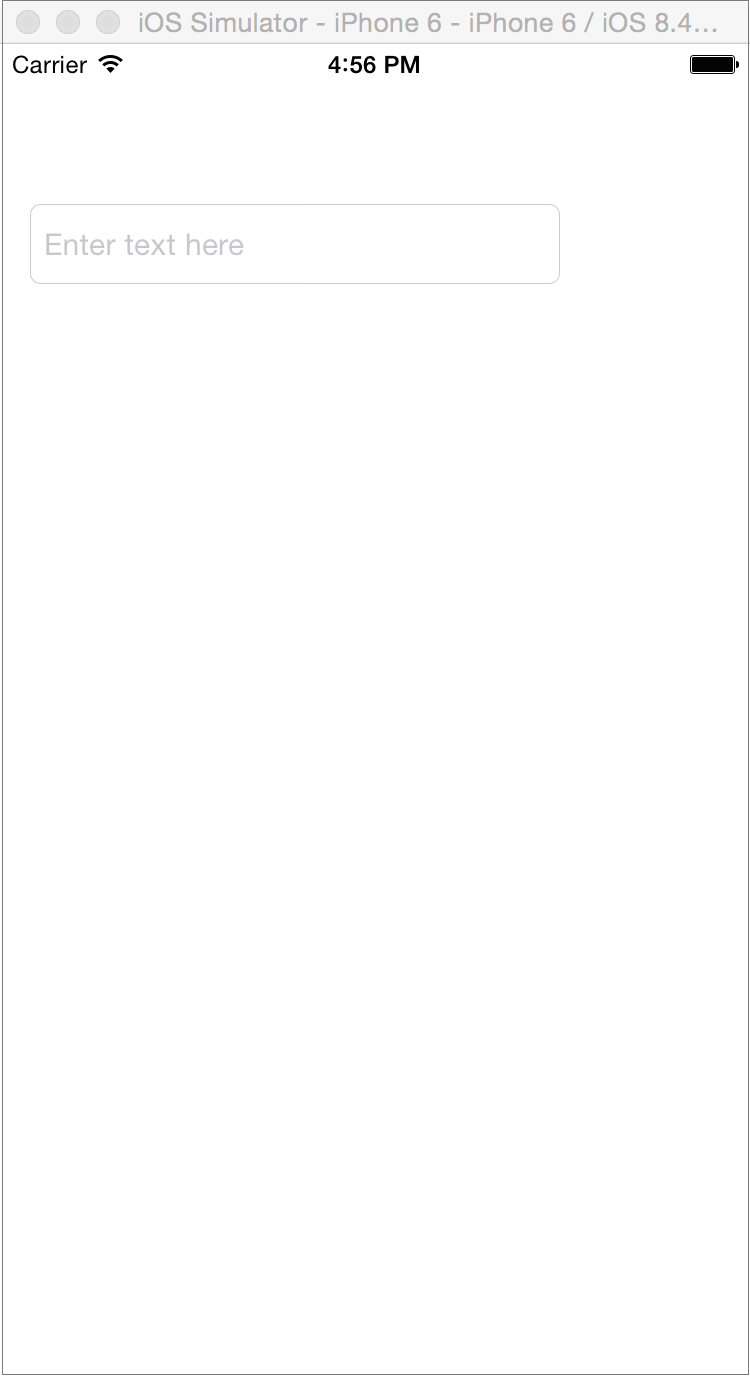
OK, so we have a basic text field on the screen, now let's style it a little to make it look nicer.
If we take a look at the UITextField documentation then we'll see a nice list of things we can do to manage the text field's look and appearance. For this example I'm going to use a set of styling attributes that I found at this StackOverflow post. So take a look at that and compare it to my implementation:
def create_text_field
  text_field_frame = CGRectMake(15, 80, 265, 40)
  @text_field = UITextField.alloc.initWithFrame(text_field_frame)
  style_text_field
  window.addSubview text_field
end

def style_text_field
  text_field.borderStyle = UITextBorderStyleRoundedRect
  text_field.font = UIFont.systemFontOfSize(15)
  text_field.placeholder = 'Enter Text Here'
  text_field.autocorrectionType = UITextAutocorrectionTypeNo
  text_field.keyboardType = UIKeyboardTypeDefault
  text_field.returnKeyType = UIReturnKeyDone
  text_field.clearButtonMode = UITextFieldViewModeWhileEditing
  text_field.contentVerticalAlignment = UIControlContentVerticalAlignmentCenter
  text_field.delegate = self
end
In the above I want to be sure that you notice a few things
We set the "delegate" to
self. That's because the delegate is the place that messages go. So if any messages needed to get to our text field we want to make sure they come to this object. Read more here.I didn't use
text_field.releaseas the stack overflow comment suggested. That's because of the way RubyMotion memory management works. We don't have to deal with any commands like autorelease or release. Read more here.The
style_text_fieldmethod isn't very DRY! I attempted to metaprogram this one with a hash of messages to send:
styles = { 'borderStyle=' => UITextBorderStyleRoundedRect }
styles.each{ |k,v| text_field.send(k, v) }
But there is an issue with this use of send: if you want to dynamically call an Objective-C method you need to have a "pre-compiled stub" available. Which means the code needs this:
def never_called
  text_field.borderStyle = 'foo'
end

def styled_text_field
  # now you can dynamically call `borderStyle=`
end
There's more discussion here and here.
Button
Next let's add a push button for sending the entered text to a new view. In the UIButton docs we see that a button is created using the UIButton class's buttonWithType method. First I'll add a create_button method to the opening application method and a :button attribute reader:
attr_reader :view_controller, :window, :text_field, :button

def application(application, didFinishLaunchingWithOptions:launchOptions)
  create_view_controller
  create_window
  create_text_field
  create_button
  true
end
Then in the create_button method we need to create the button and add it to the window. Be sure that you can see the list of available button types from the button docs so that this part doesn't seem magical:
def create_button
  @button = UIButton.buttonWithType(UIButtonTypeSystem)
  view_controller.view.addSubview(button)
end
Now if you run the above, you won't see any button for two reasons:
- There's no text to display, and the system style for this button is a text only button.
- There's no frame, and all view objects need a frame.
Since this view object doesn't use initWithFrame we can just set the frame property like a normal property (below) but adding the text is a bit trickier.
The method that the docs recommend for setting the button's "title" is setTitle:forState:. The first argument is easy enough but the second needs a UIControlState constant. See if you can find the list of UIControlState constants before clicking on this link which takes you directly to them.
Altogether that's
def create_button
  button_frame = CGRectMake(285, 80, 80, 40)
  @button = UIButton.buttonWithType(UIButtonTypeSystem)
  button.frame = button_frame
  button.setTitle('Send', forState: UIControlStateNormal)
  view_controller.view.addSubview(button)
end
Next let's add a border so that we can see the actual outline of the button. This isn't the default on iOS for design reasons, but it's helpful for seeing what the actual clickable area of the button is while developing.
Because the topic of customizing UI elements is a little much for this first tutorial, I'll just give you some code to copy / paste without further comment:
def add_border(view)
  view.layer.cornerRadius = 4
  view.layer.masksToBounds = true
  view.layer.borderColor = UIColor.colorWithRed(0.0, green: 122.0/255.0, blue: 1.0, alpha: 1.0).CGColor # system blue
  view.layer.borderWidth = 1
end
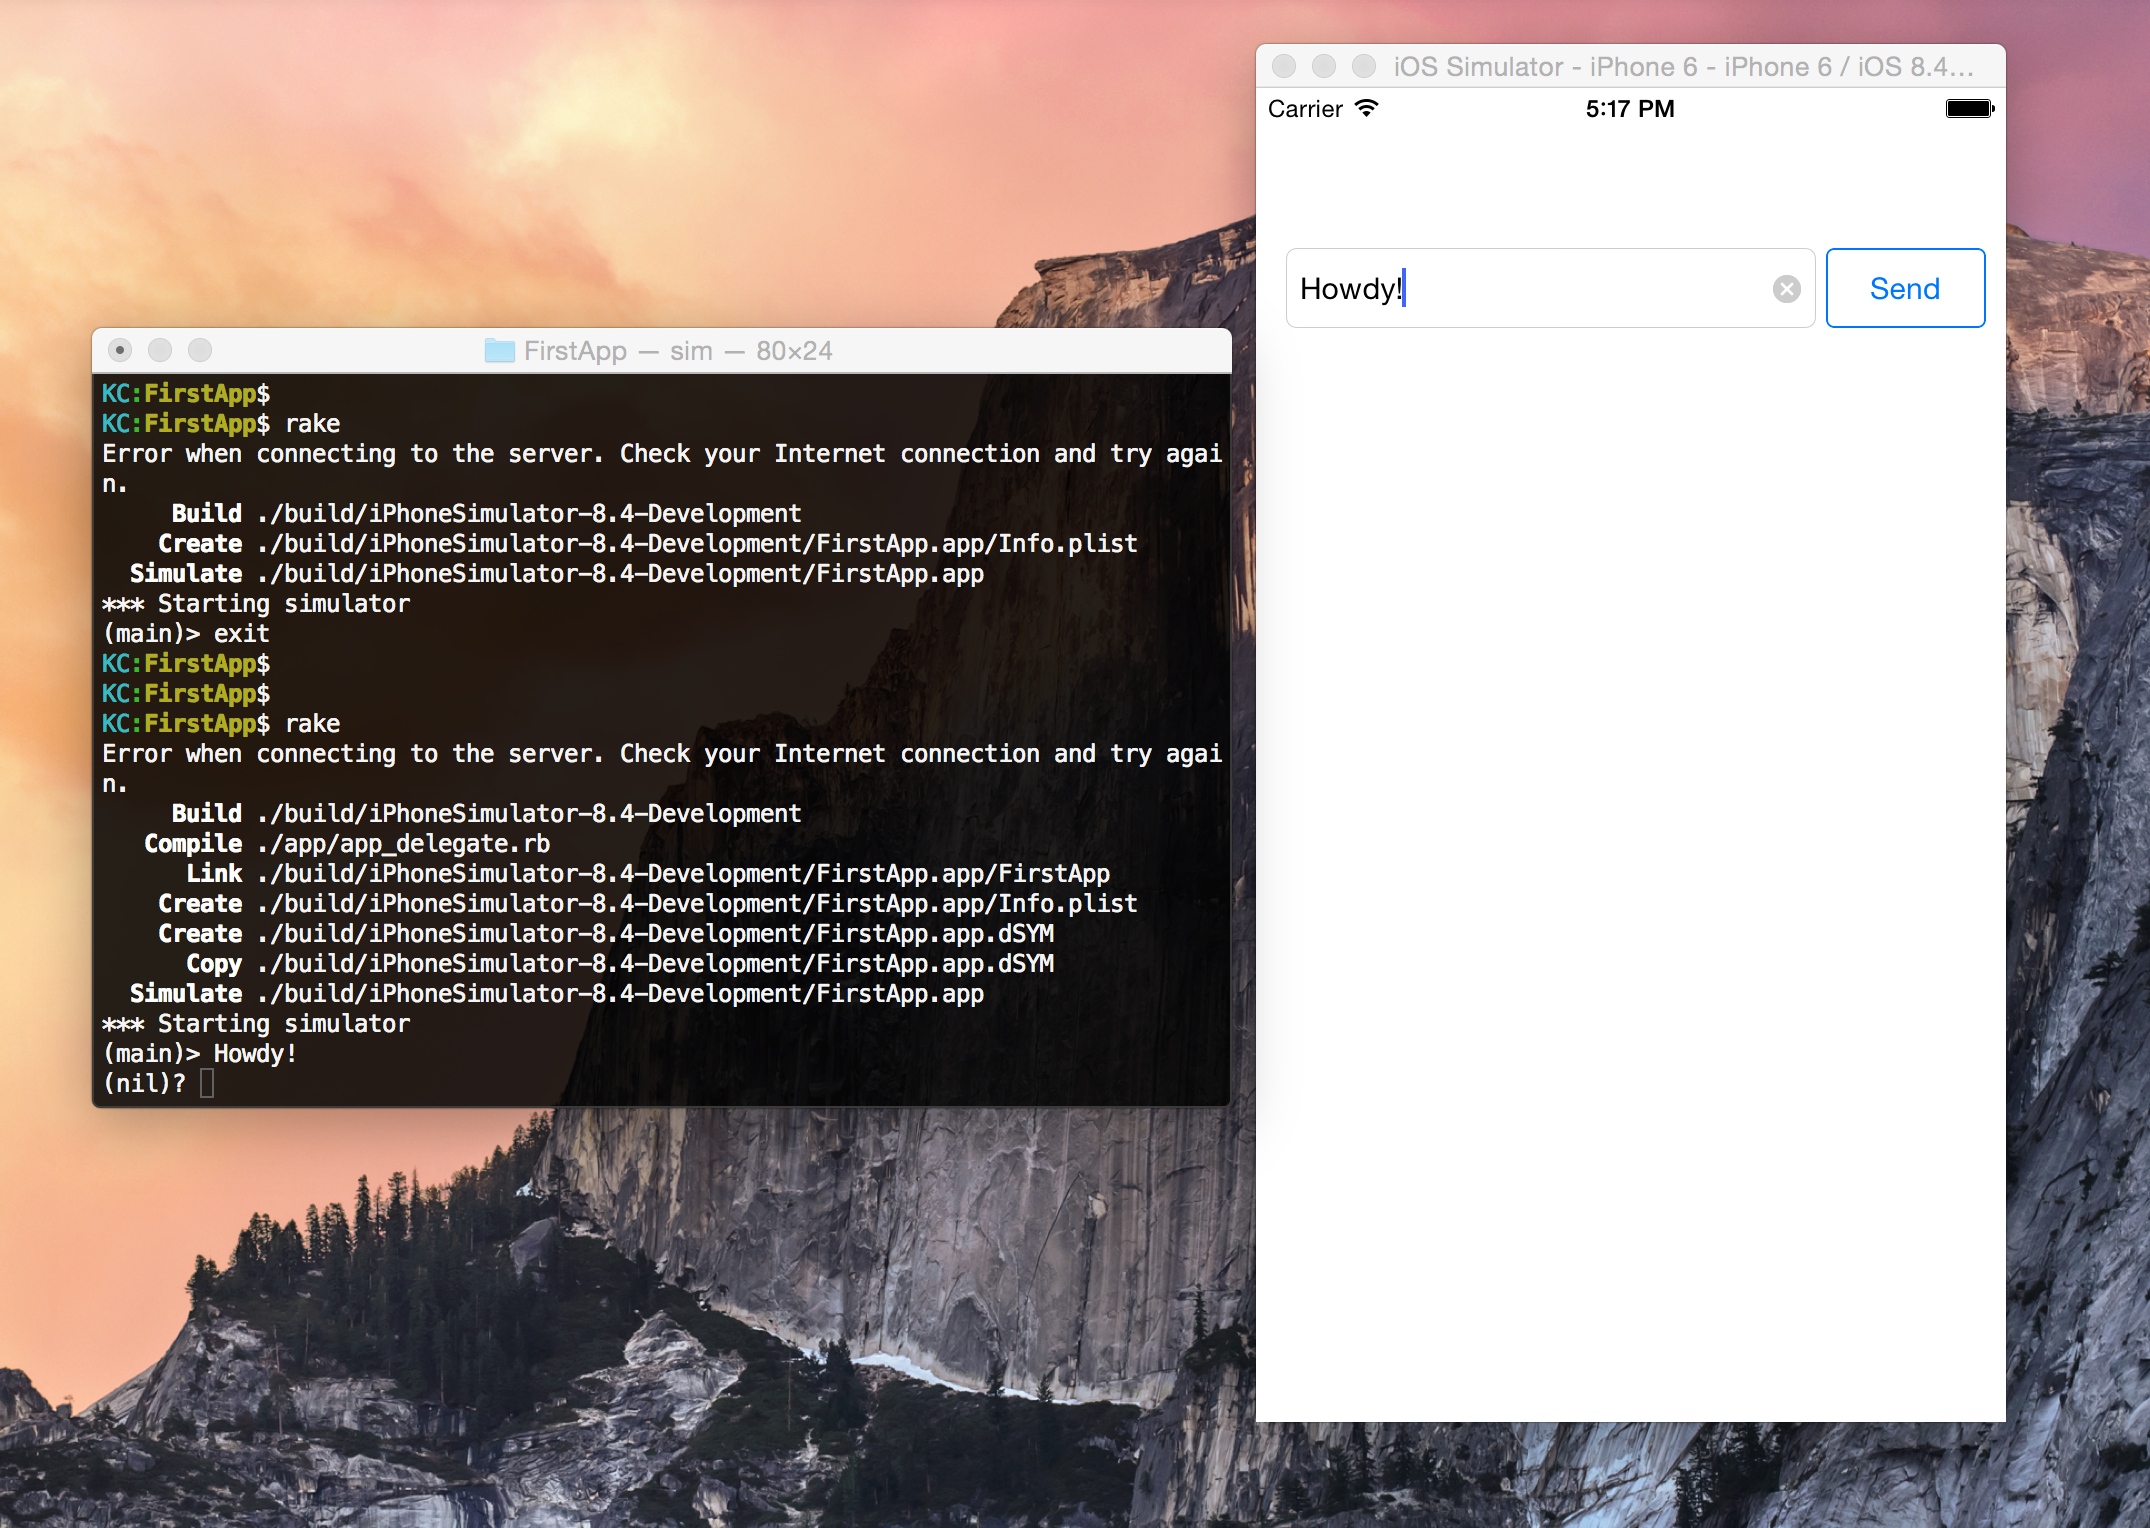
Lastly let's hook up a method to that button.
UIButton inherits this ability from its parent UIControl in a method called addTarget:action:forControlEvents:
If the method resides in self then the target is self, the message is the method name and the possible control events are listed here.
We'll use UIControlEventTouchUpInside and just have it puts the text from the text field. Altogether that's:
def create_button
  button_frame = CGRectMake(285, 80, 80, 40)
  @button = UIButton.buttonWithType(UIButtonTypeSystem)
  button.frame = button_frame
  button.setTitle('Send', forState: UIControlStateNormal)
  add_border(button)
  button.addTarget(self, action: :send_message, forControlEvents: UIControlEventTouchUpInside)
  view_controller.view.addSubview(button)
end

def send_message
  puts text_field.text
end
Auto Layout
At this point in the Android tutorial we used things like weight to position and size the text field and button. The equivalent concept in iOS is Auto Layout.
Auto Layout is a complex topic. It's a tool for helping your app be well-suited to many screen sizes and orientations. You can use it in Interface Builder or you can use it programmatically with something Apple calls their "Visual Format Language" (VFL).
As mentioned before I want to save talking about Interface Builder for later, and it doesn't seem right to create a whole tutorial on VFL and Auto Layout just so we can have a perfect layout in this first lesson.
So my plan now is to let this layout be imperfect (hard-coded sizes and positions) and then in later tutorials introduce Interface Builder and RubyMotion gems available for handling layout. That means I'll probably never get into using VFL to create an auto layout programmatically.
Recap
OK, so in this lesson we created some view controllers and placed some views in them (this was all boilerplate stuff). Next we created our own text field and added a little style and follwed that with a button that did something when "tapped". Be sure to check out the source of this app here to see how it all goes together. Next we'll learn how to create a new screen, and how to navigate between the two.