The Basics
OK, let's get started on a basic app to get introduced to RubyMotion and iOS development. Because the goal is to follow the Getting Started Android tutorial, we'll start with a simple text box input.
Create the App
Let's create a bare app with
$ motion create FirstApp
$ cd FirstApp
$ rake
A Little Boiler Plate
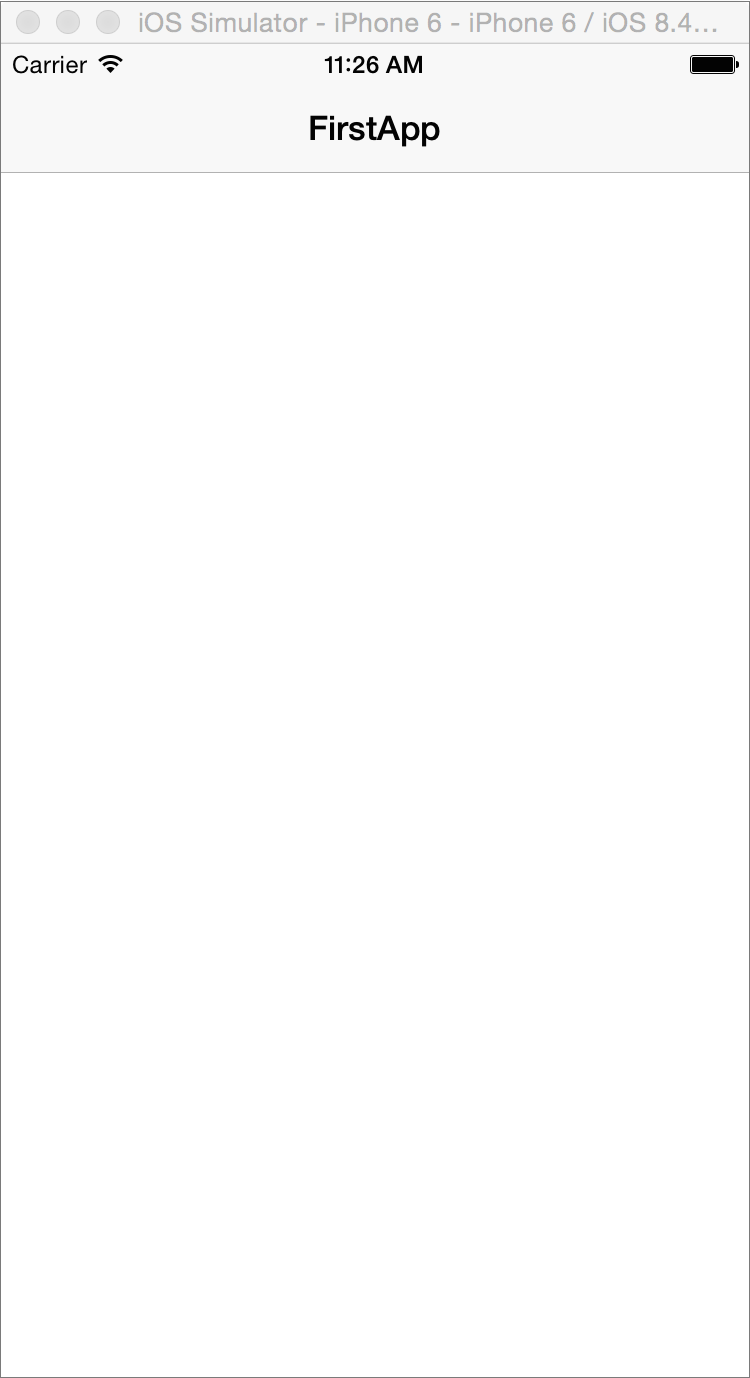
Before modifying this template app, let's take a look at the app_delegate.rb file that is provided and look at how this creates the blank app we see in the simulator
class AppDelegate
  def application(application, didFinishLaunchingWithOptions:launchOptions)
    rootViewController = UIViewController.alloc.init
    rootViewController.title = 'FirstApp'
    rootViewController.view.backgroundColor = UIColor.whiteColor

    navigationController = UINavigationController.alloc.initWithRootViewController(rootViewController)

    @window = UIWindow.alloc.initWithFrame(UIScreen.mainScreen.bounds)
    @window.rootViewController = navigationController
    @window.makeKeyAndVisible

    true
  end
end
Most of the classes in this template have a brief description in a table in the "App Programming Guide for iOS". The big concepts are:
UIApplicationhandles the big stuff behind the scenesAppDelegateseparates the coreUIApplicationfrom your custom code.UIApplicationcan delegate this role to any class,AppDelegateis just the default (this can be changed in your app's Rakefile).UIViewController- In iOS development, instead of attaching views directly to the window we attach them to view controllers, and then attach those controllers to the window.UINavigationController- A view controller that provides nice methods for navigating between a stack of view controllers. In this case we have only one view controller for the navigation controller to manage so we use it to initialize the navigation controller.- The content of your app goes into a
UIWindow. It needs a root view controller and in order to receive events it needs to be madeKeyAndVisible.
From the UIWindow Class Reference:
To change the content your app displays, you can change the window’s root view; you don’t create a new window
That's why we use @window instead of just a local variable. Our AppDelegate class actually has a set of accessors (self.window= and self.window) for its window. (We'll get into more of this later).
Experiment - Try commenting out the navigation controller and using the UIViewController as the rootViewController of the window instead. You can also try creating a UIWindow without a frame: UIWindow.alloc.init
Extra Reading - There's a great programmers guide on windows and views from the iOS developer library. Definitely worth a skim.
A Little Objective-C Primer
OK, so at this point I hope you've read some docs, and experimented with the basic layout. If so, then an overarching question should be nagging you: how do I translate between Objective-C and Ruby? What's this alloc.init stuff about, and why is there a colon in the middle of the parameter: didFinishLaunchingWithOptions:launchOptions?
I'm no Objective-C expert so I'm going to only try to give a very basic introduction on how we translate between Objective-C and Ruby and link to other folks saying similar things. The RubyMotion docs go into great detail on how to do this. That means much of what I write here comes from those docs.
Syntax
First, let's see if we can find the application method of the AppDelegate class over in the iOS docs and learn how to translate it . . .
If you search for AppDelegate in the docs you won't find anything! That's because UIApplicationDelegate is a Protocol and there is no AppDelegate Class. Instead of needing to explicitly declare our AppDelegate class as implementing the protocol, RubyMotion uses duck-typing so that any class can qualify as an app delegate just by implementing methods of the UIApplicationDelegate protocol (but again, your Rakefile should be used to tell your app which candidate class should be used).
Let's start with our use of @window in the boilerplate code.
Looking through the protocol we see the window property. If it's a property in Objective-C then it will have a getter and a setter.
Another important feature here is the use of all those square brackets. In short these brackets are the Objective-C way of differentiating C code from Objective-C code. I definitely recommend Team Treehouse's nice primer on Objective-C messages that helped me get a better grip on the syntax part of this. In the next section we'll get more into how we turn Objective-C messages into Ruby method names.
Your Turn -
Go ahead and open up the docs on that protocol, read around a bit, and see if you can find reference to the application method of the AppDelegate we see used in the RubyMotion template. I'll be waiting here for you when you get back.
Messages
Hopefully you were able to find the application:didFinishLaunchingWithOptions: method.
In the docs, you can get more detailed information about a method by clicking on it:
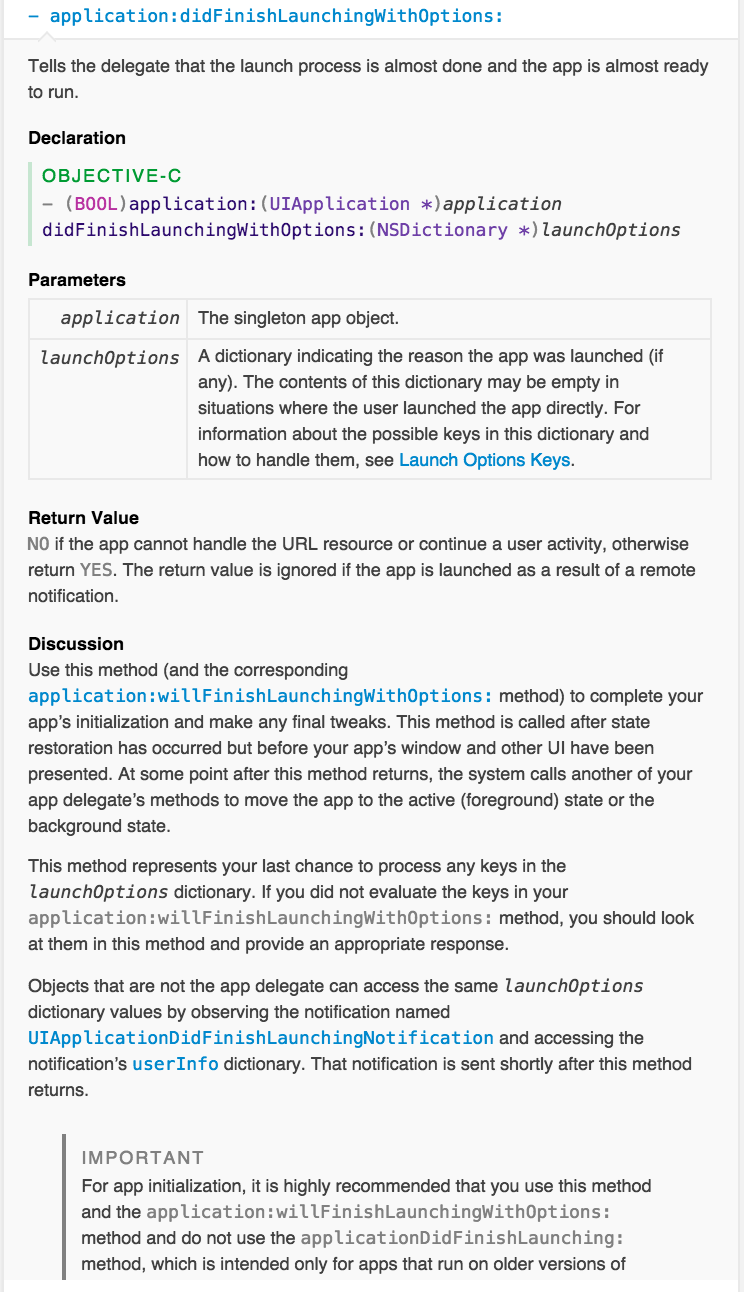
The Ruby version of this method is
application(application, didFinishLaunchingWithOptions:launchOptions).
Instead of writing up my own guide to translation I'm just going to recommend you read either (or both) of these two:
A simple explanation of the conversion between Objective-C messages and Ruby methods by Gant Laborde.
RubyMotion docs on the topic.
alloc.init vs new
One last thing to cover. You may have noticed from the template that we created an instance of the UIViewController class by calling alloc.init. The RubyMotion docs tell us that in RubyMotion, Objective-C classes are Ruby classes and vice versa. So could we create that UIViewController with new instead?
The answer seems to be: yes, sorta. This is outside of my expertise so if you're interested a place to start might be this discussion. But you're welcome to just experiment and see what you get or use alloc.init when in doubt.
Also there is a neat gem that shortcuts some of these things.
Conclusion
The goal of this lesson was to get your feet wet in the iOS docs, the RubyMotion docs, and some Objective-C concepts. I'm relying heavily on outside sources to teach these concepts because I want to get on with app-development so please pause here, read them, experiment with commenting out some lines from the template and get comfortable with these concepts before moving on!