Genymotion
Genymotion is an Android emulator that actually works. If you don't have a device, (or more realistically all the devices) then you'll need to test your apps out on an emulator. To see all the great things that Genymotion has to offer, check out their website.
Also, there's a blogpost written by Gant Laborde that you should check out. It covers much the same ground I do here and is where I learned the things I'm going to explain here (though I plan to give a little more detail).
What's Genymotion?
Genymotion is an app
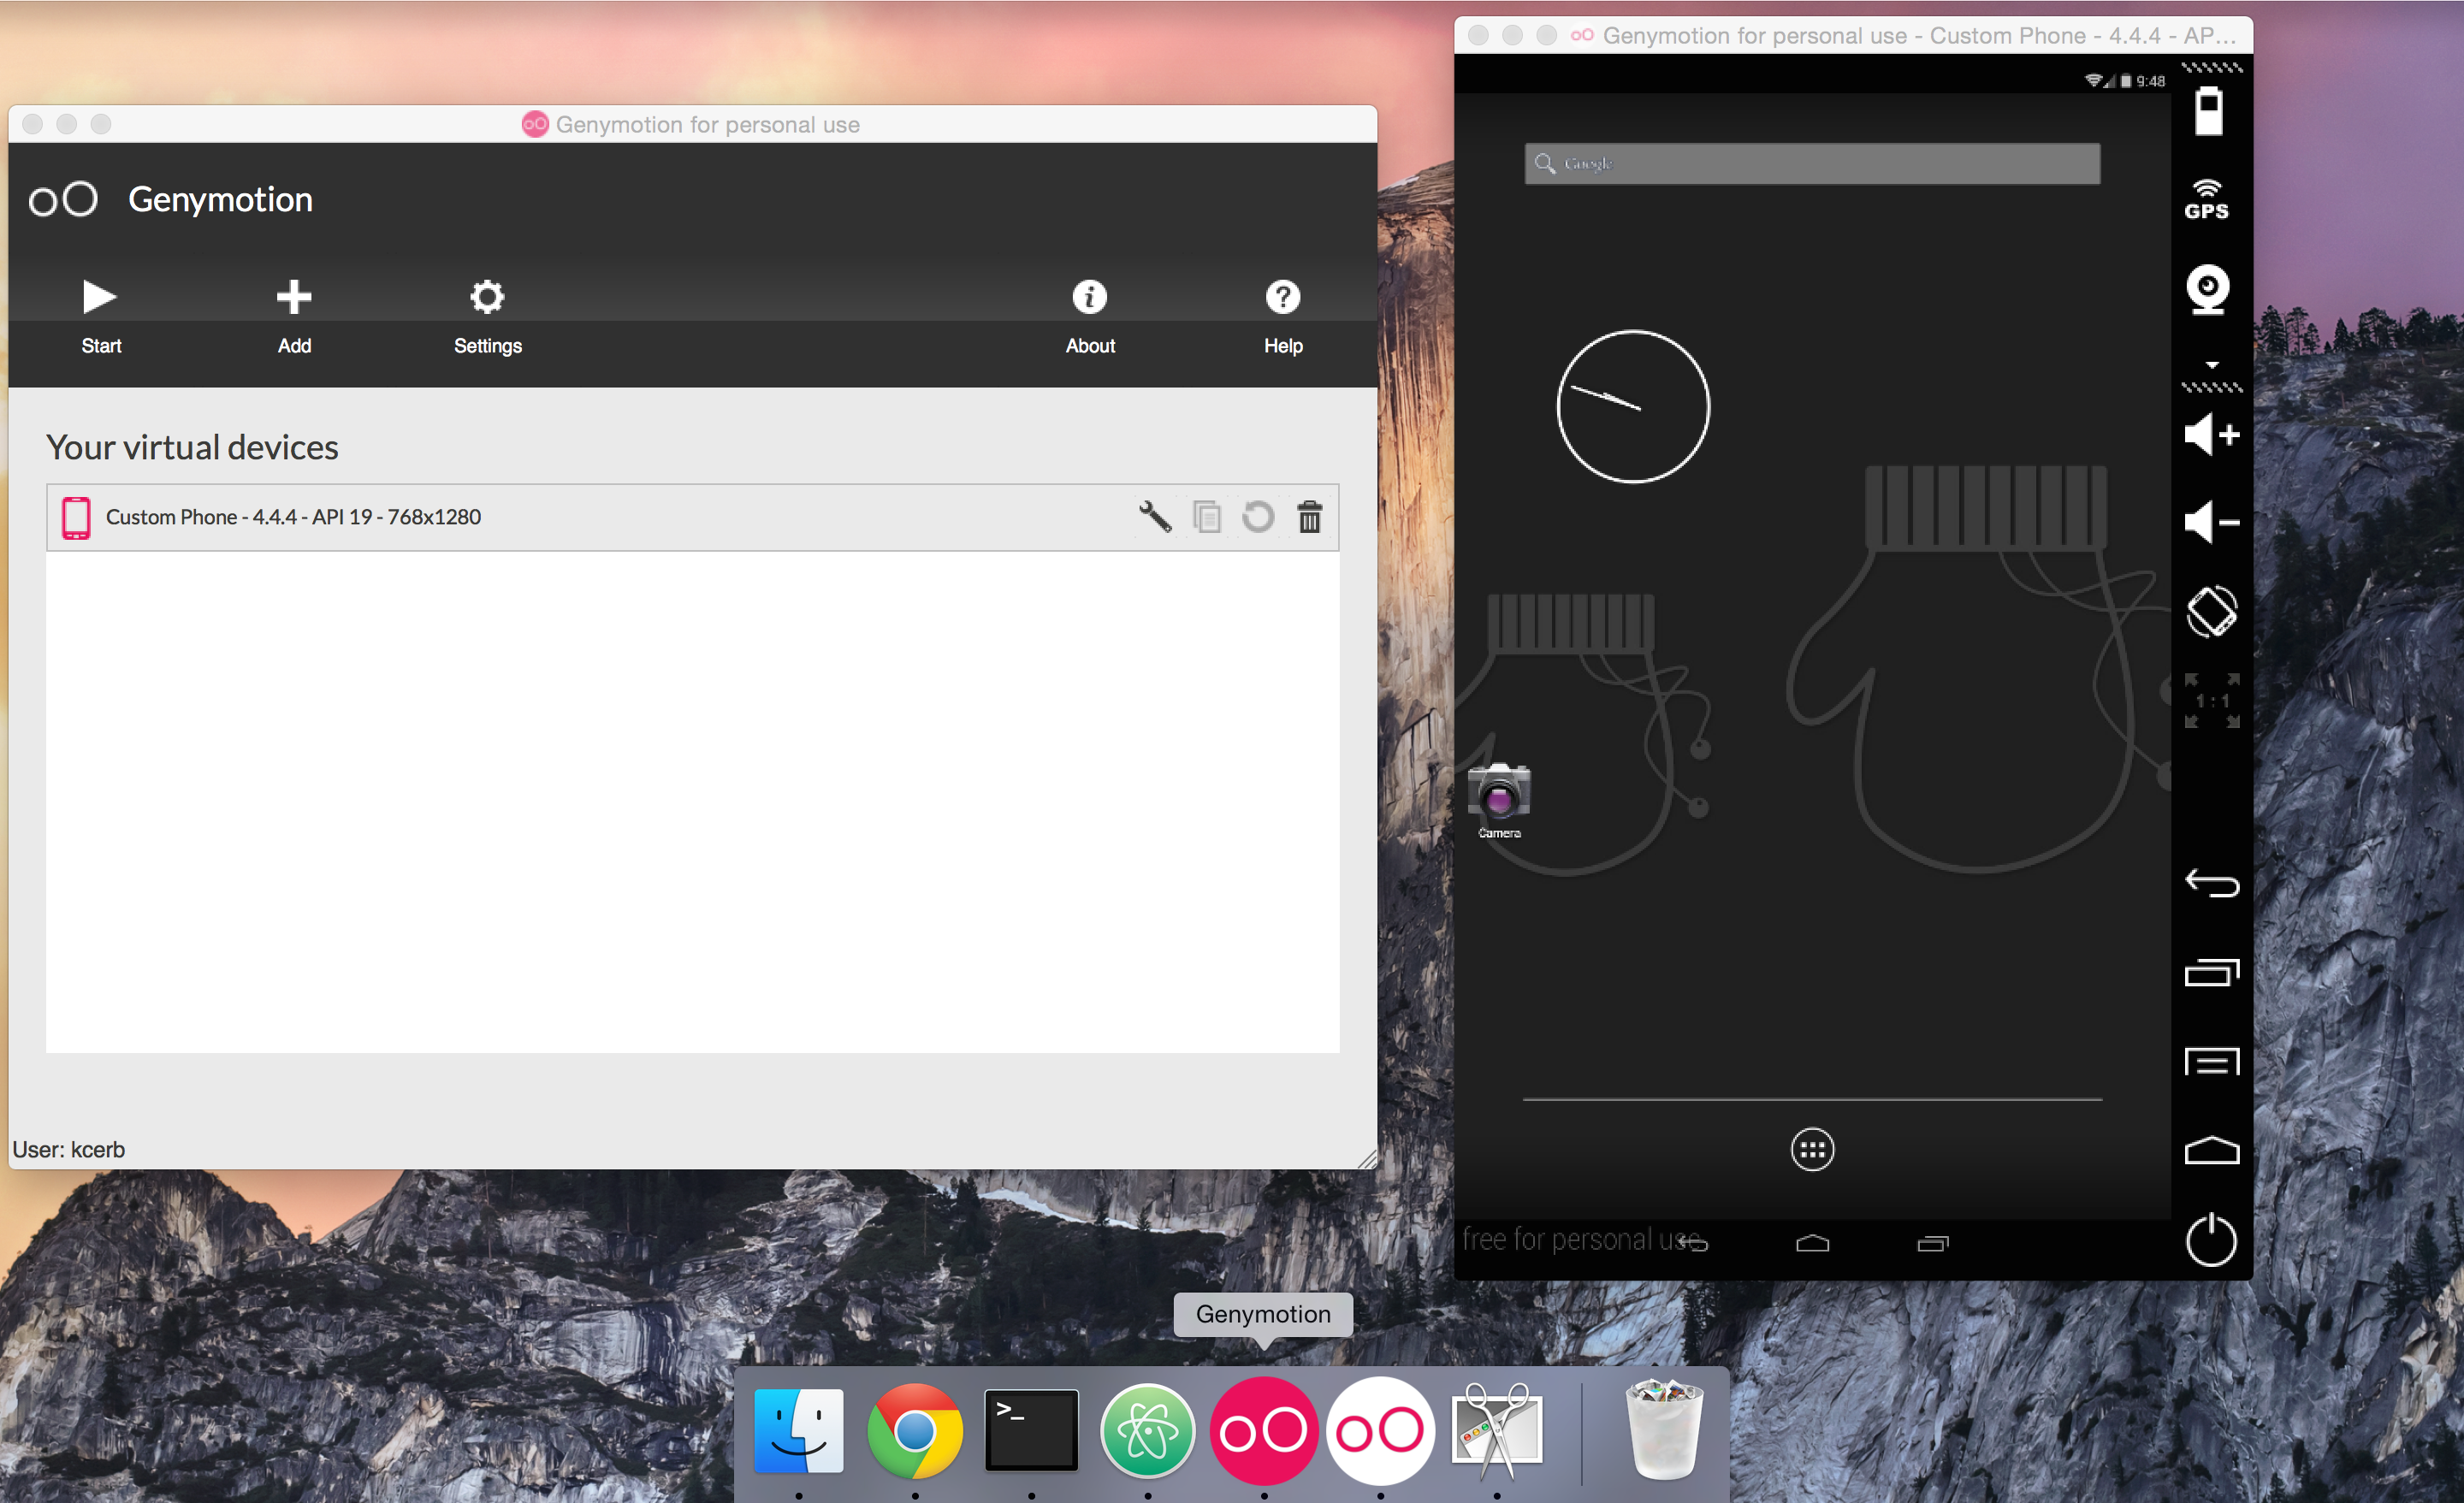
On the left there (once set up) you'll see a list of virtual devices that you've downloaded, and when you start one you'll get a window at the right.
Get Genymotion
First thing I want you to do is get a free account with Genymotion. You need it to run their stuff. So just follow this link, follow the instructions and don't come back until you're signed in.
The Homebrew Route
If you're on OSX you should use Homebrew to get Genymotion going. If you're new to Homebrew just click on the link above and install according to their instructions.
With Homebrew installed run the following:
$ brew update
$ brew doctor
If you get errors you'll need to resolve them, if you get warnings don't worry about them. Next you need cask:
brew install caskroom/cask/brew-cask
With those components in place, all you need now is to install VirtualBox and Genymotion. You can do both in one fell swoop:
$ brew cask install virtualbox genymotion
If all goes well, the result will be that you get the Genymotion app symlinked your User Applications (not the normal applications place):
==> Symlinking App 'Genymotion Shell.app' to '/Users/KC/Applications/Genymotion Shell.app'
==> Symlinking App 'Genymotion.app' to '/Users/KC/Applications/Genymotion.app'
The non-Homebrew Route
I'm no expert at this, and I don't have access to testing it on Linux or Windows so I'll just have to give you an outline:
(Note that you'll need that free Genymotion account to perform step 2)
Get Devices
If you double-click that Genymotion app you'll see the following:
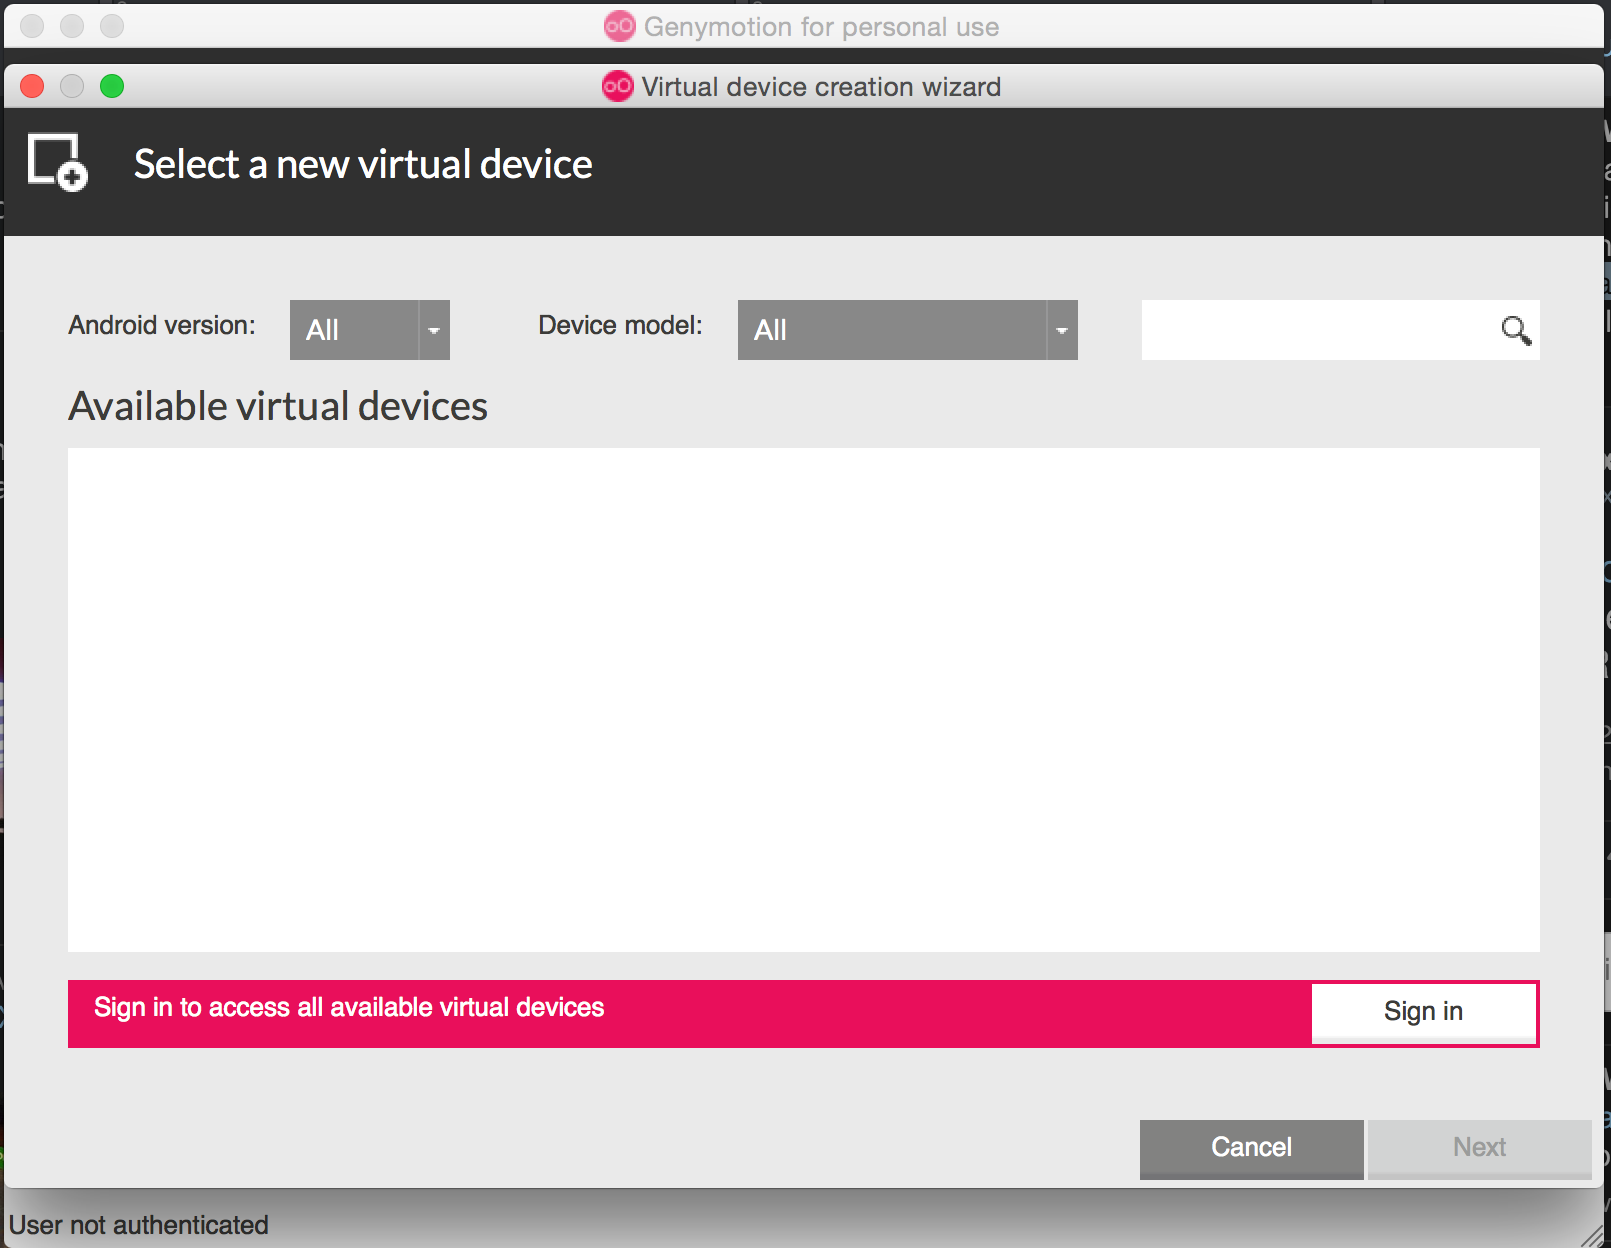
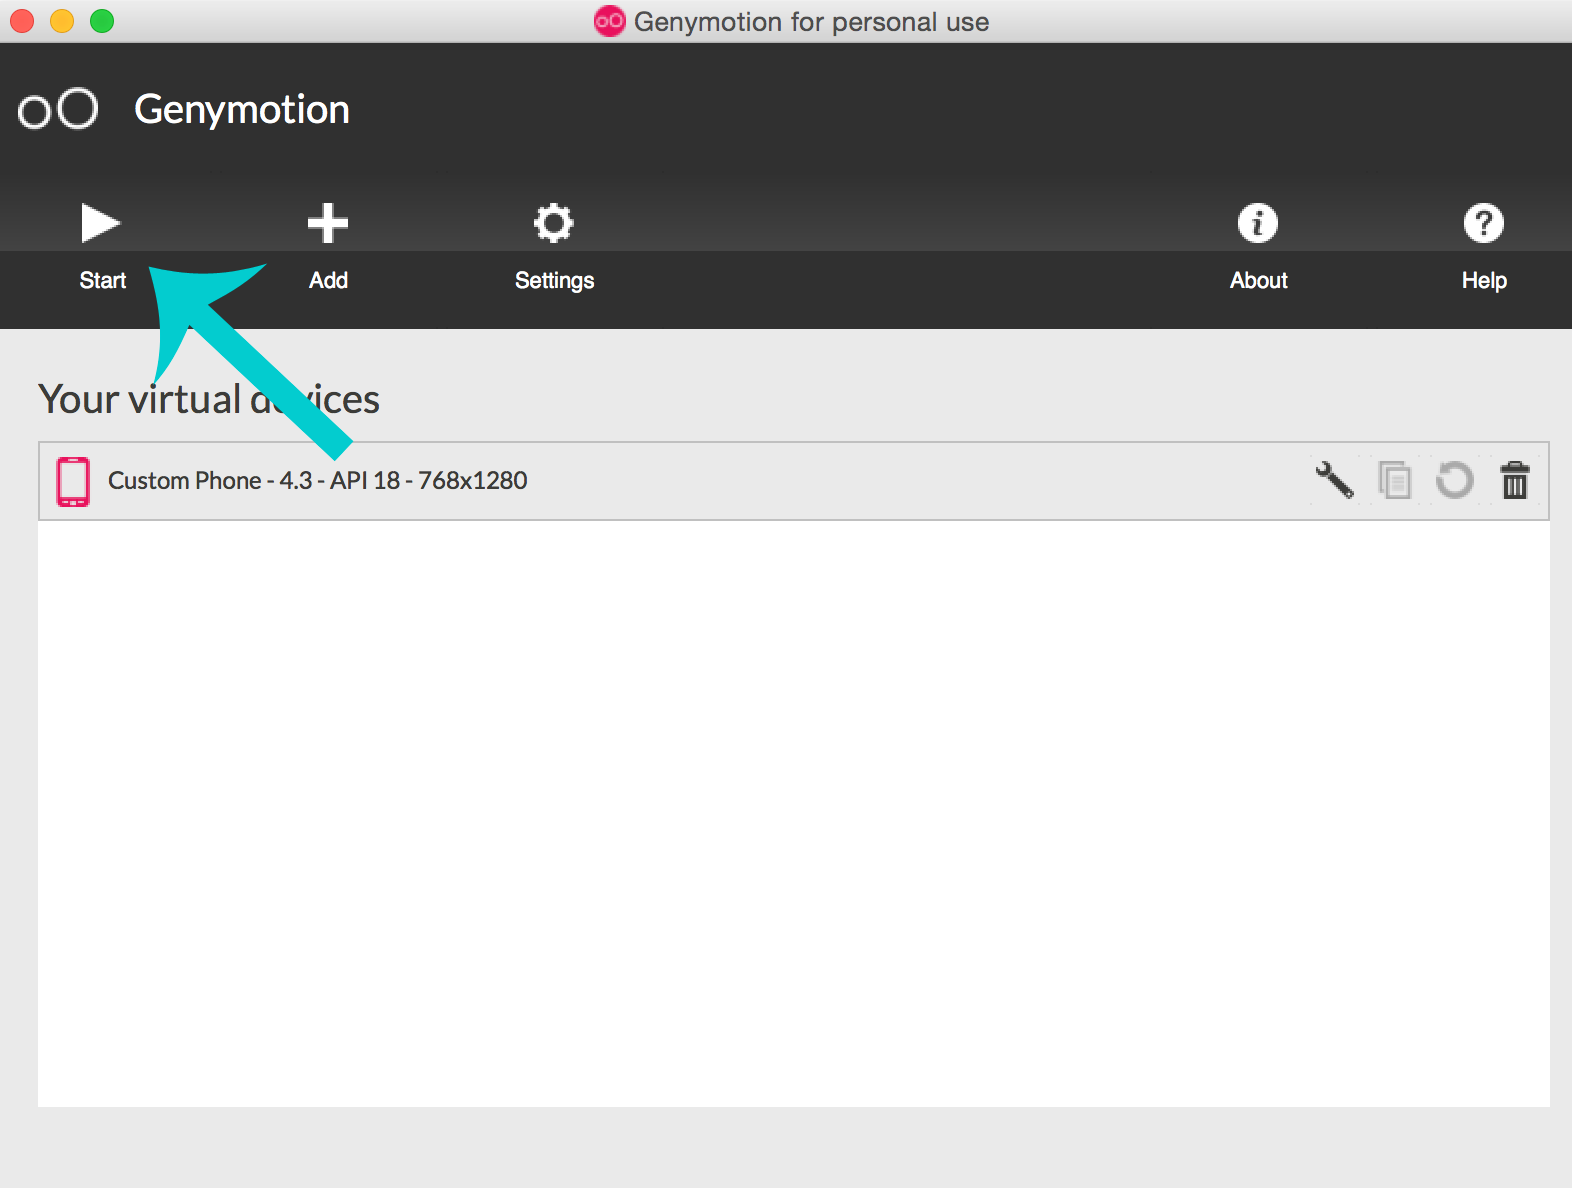
To get going, just click that pink bar at the bottom and sign-in with your account info. You'll see a long list of devices, select one, install it and start it with the play button.
Use Devices
Sidenote - If you came to this tutorial from the First App lesson then this is the part when you can go back and build that app. For the rest of the tutorial I'll be using the app we built there as a demo.
One of the (many) cool features of Genymotion is that you can drag and drop .apk files into the emulator directly:
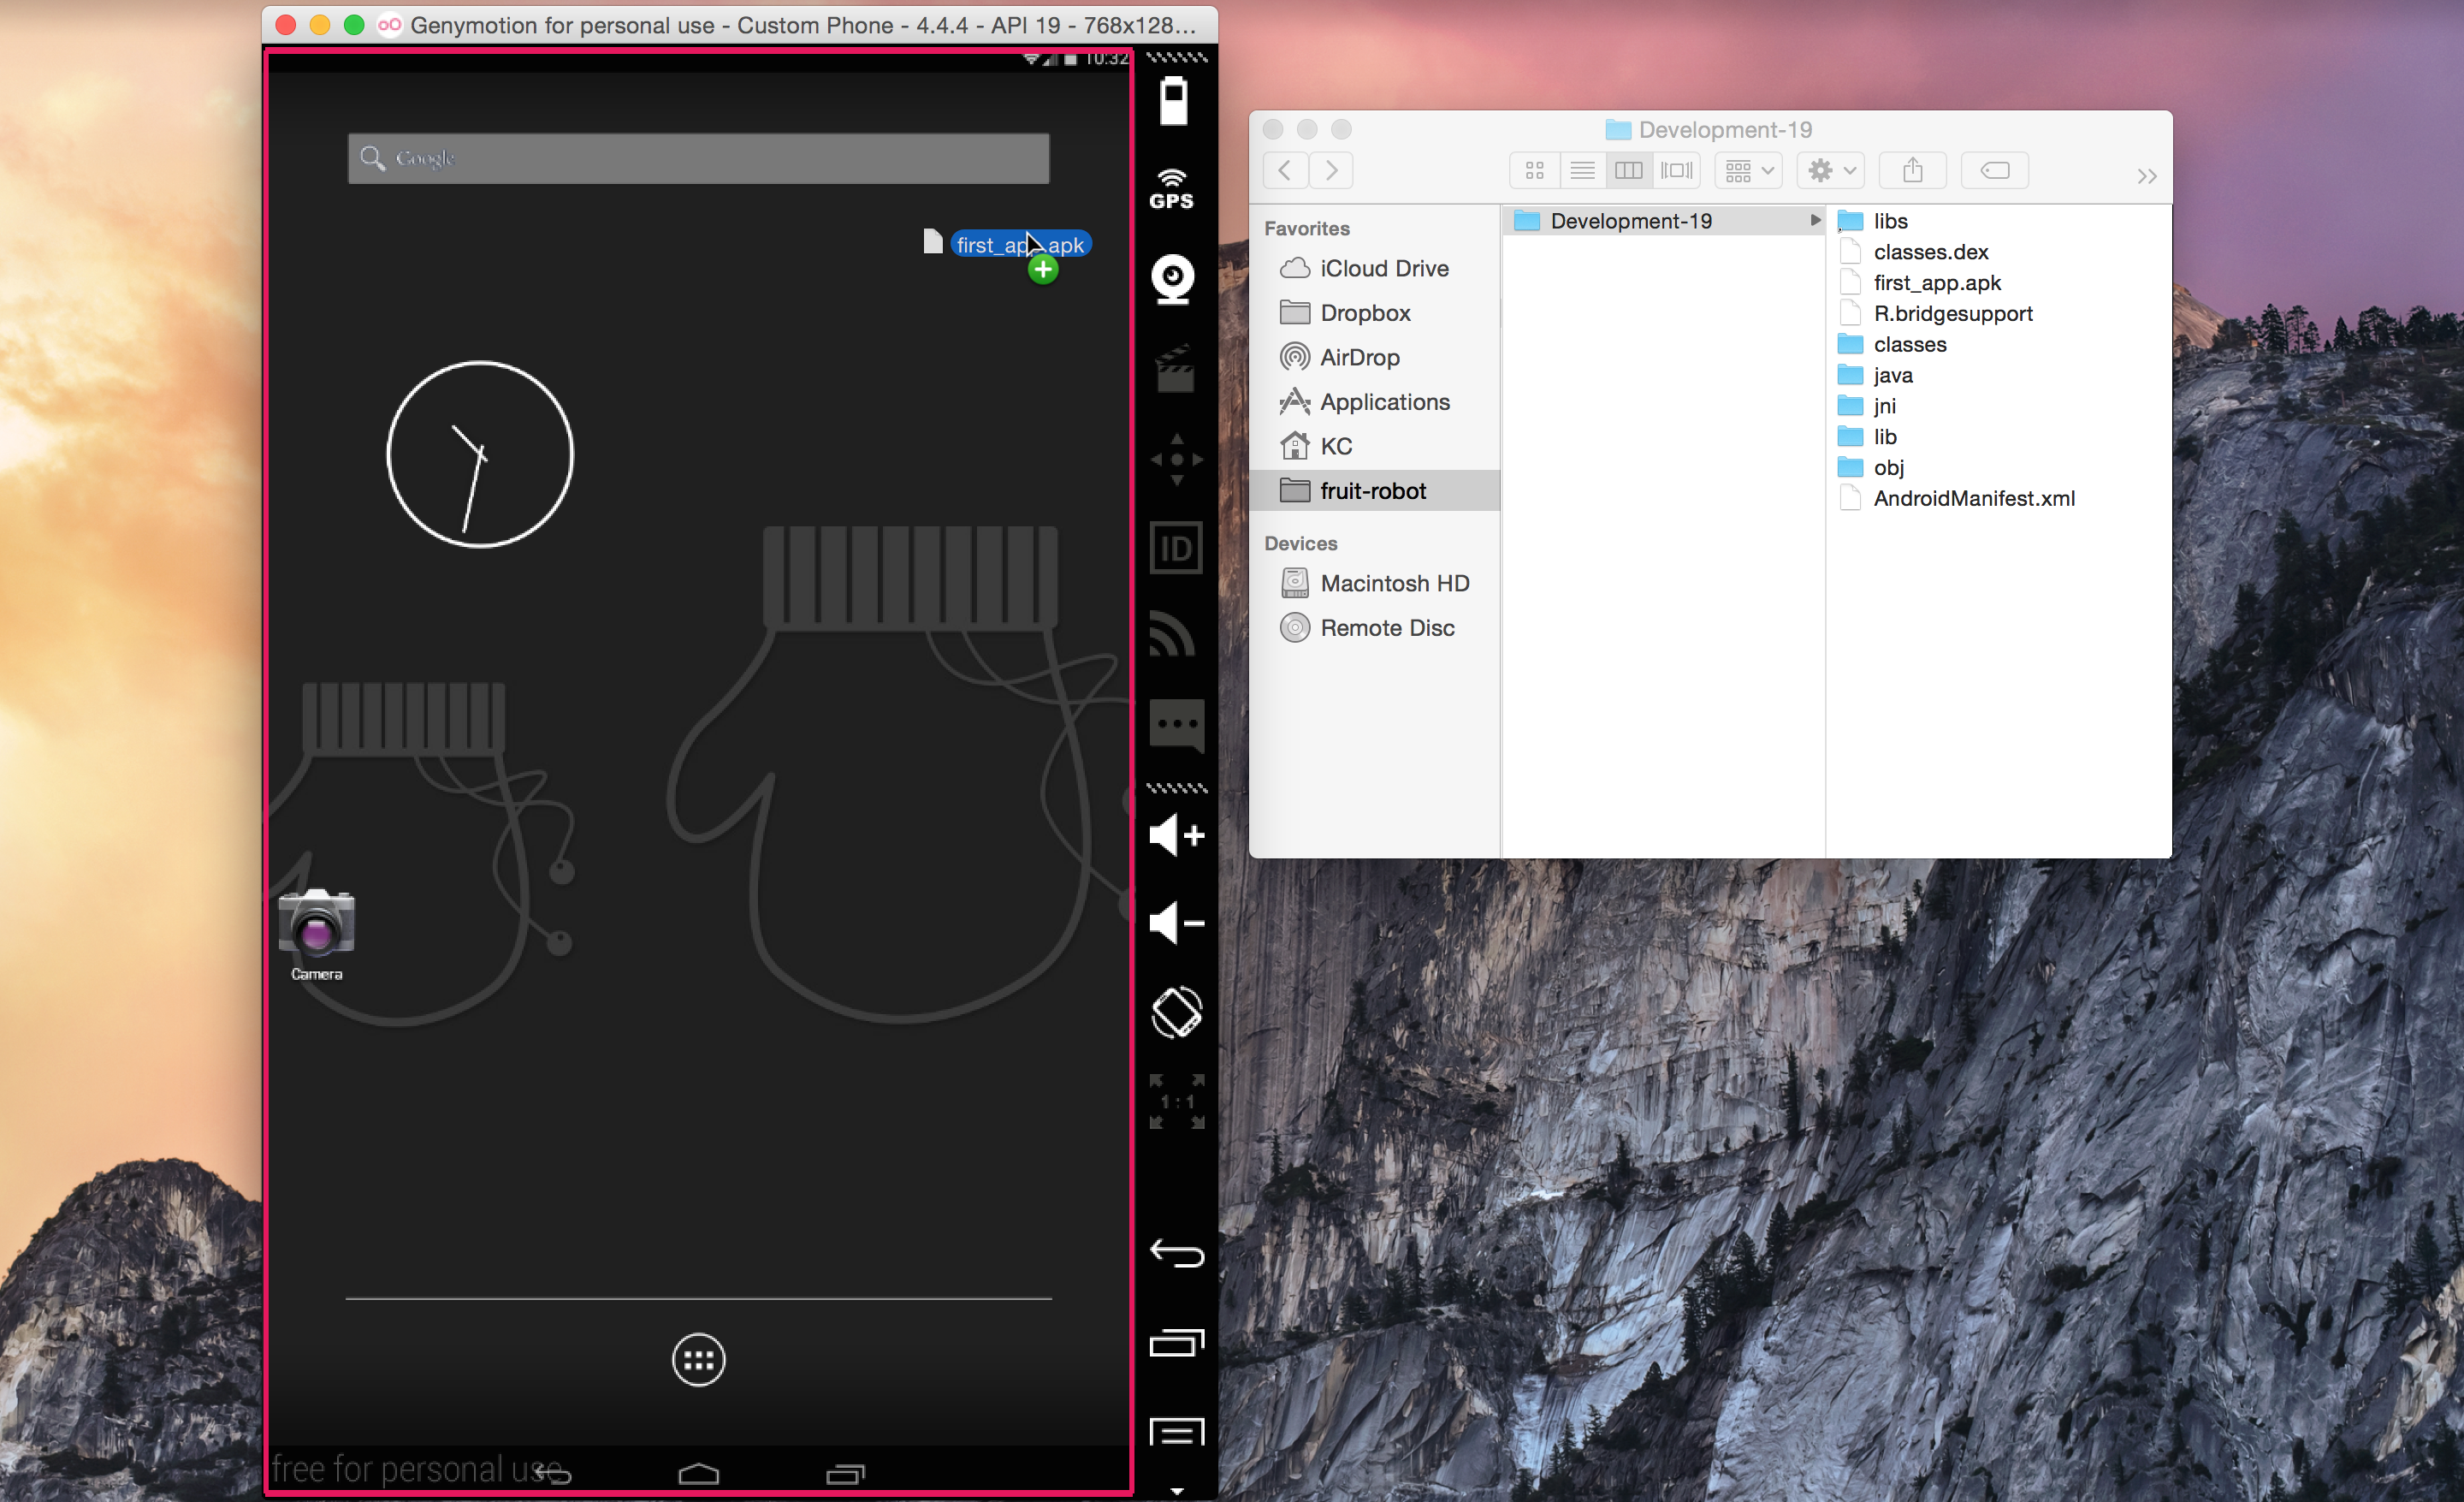
If you do this with the app we built in the first lesson you'll get the following:
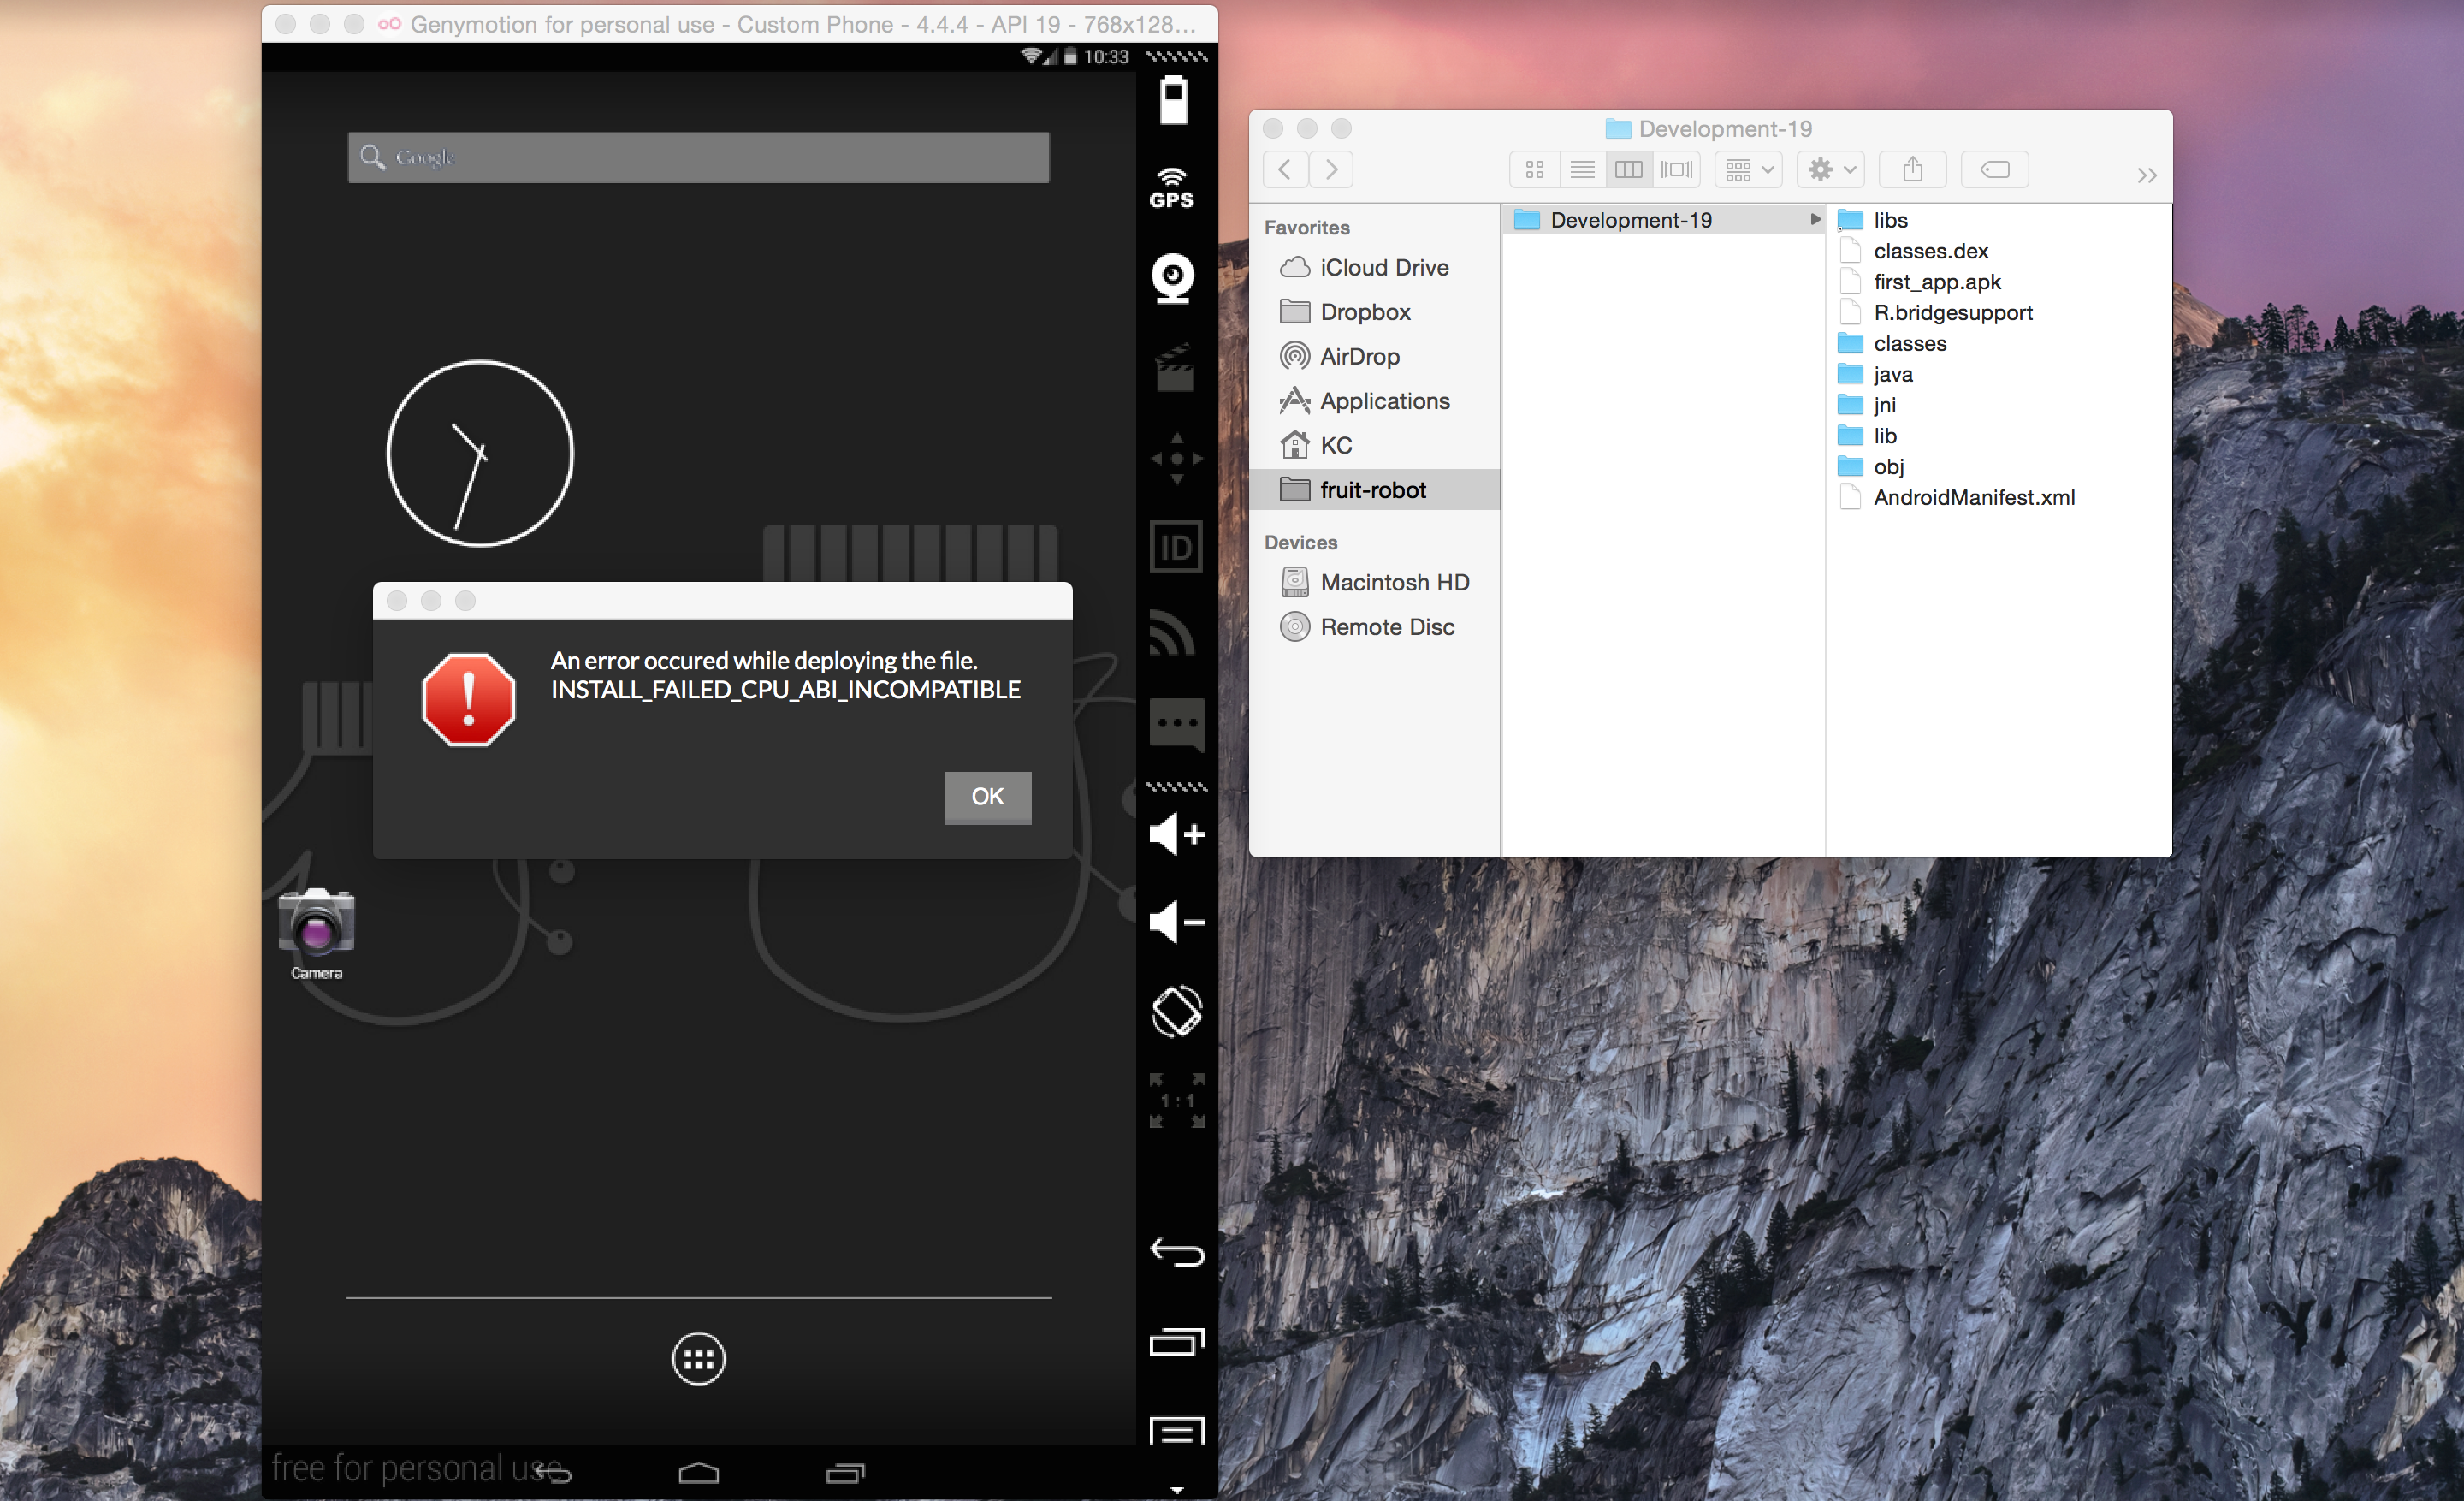
The error here is saying our build isn't compatible with the emulator.
All we need to do here is add a line to the Rakefile telling the compiler to build the right version:
app.archs << 'x86'
Now if we just ask it to
$ rake
with no device plugged-in or running we'll get
KC:first_app$ rake
    Create ./build/Development-19/AndroidManifest.xml
   Compile ./app/display_message_activity.rb
   Compile ./app/main_activity.rb
    Create ./build/Development-19/lib/armeabi/libpayload.so
    Create ./build/Development-19/lib/armeabi/gdbserver
    Create ./build/Development-19/lib/armeabi/gdb.setup
   Compile ./app/display_message_activity.rb
   Compile ./app/main_activity.rb
    Create ./build/Development-19/lib/x86/libpayload.so
    Create ./build/Development-19/lib/x86/gdbserver
    Create ./build/Development-19/lib/x86/gdb.setup
    Create ./build/Development-19/classes.dex
    Create ./build/Development-19/first_app.apk
      Sign ./build/Development-19/first_app.apk
     Align ./build/Development-19/first_app.apk
   Install ./build/Development-19/first_app.apk
   error: device not found
   - waiting for device -
At this point you can fire-up the emulator or plug-in your device.
If you had a device plugged in or an emulator running, it will just fire-up the app automatically! Very sweet!
Finishing Touches
So in this lesson we got you a Genymotion account, installed Genymotion, installed a virtual device, and got an app running on it. Nice work!
One nice finishing touch is that you may have noticed that we're building two packages but only using one. Seems kinda wasteful.
If you change your app.archs line to the following:
app.archs = ["x86"] unless ARGV.include?("device")
Then you can build your app two ways:
$ rake device
which will not build an x86 version, and
$ rake
which will only build an x86 version.