Android Studio
The next tool I'm going to introduce you to is Android Studio. To be honest, I'm not sure how much I'll be using Android Studio in the coming tutorials! I've decided to include it because we can use it to build those layout XMLs instead of typing everything by hand. So let's explore around a little.
Rename
I spent about 2 hours nearly finding ways that you can leave your resources/ directory alone. Android Studio tantalized me with settings panes and the like and I thought I could do it. After all that lost time, I am finally ready to give in: if you want to use Android Studio for generating XML resources you need to rename your resources directory to res/.
All is not lost though! RubyMotion is flexible enough to accept both names, so long as you tell it you're deviating from the beaten path:
Motion::Project::App.setup do |app|
  # ...
  app.resources_dirs = ['res']
end
So my recommendation is: if you want to use Android Studio for layout / XML development, be sure to rename that directory to res and let RubyMotion know about it.
Download
The first thing you've got to do is download Android Studio from the Android developer's site. While you're there, you might want to read around a little. In this lesson, I only plan to play with the GUI / XML features so don't get too hung up on the details here.
When you open the Android Studio for the first time, you'll be asked to install the SDK, agree to license agreements etc. If you're here in the tutorials then you should already have a lot of the things it's downloading and installing. Oh well, put on a 5 minute Youtube video and wait it out.
Open An Existing Android Studio Project
After opening Android Studio, click Open an Existing Android Studio project and point it at the root directory of your RubyMotion project.
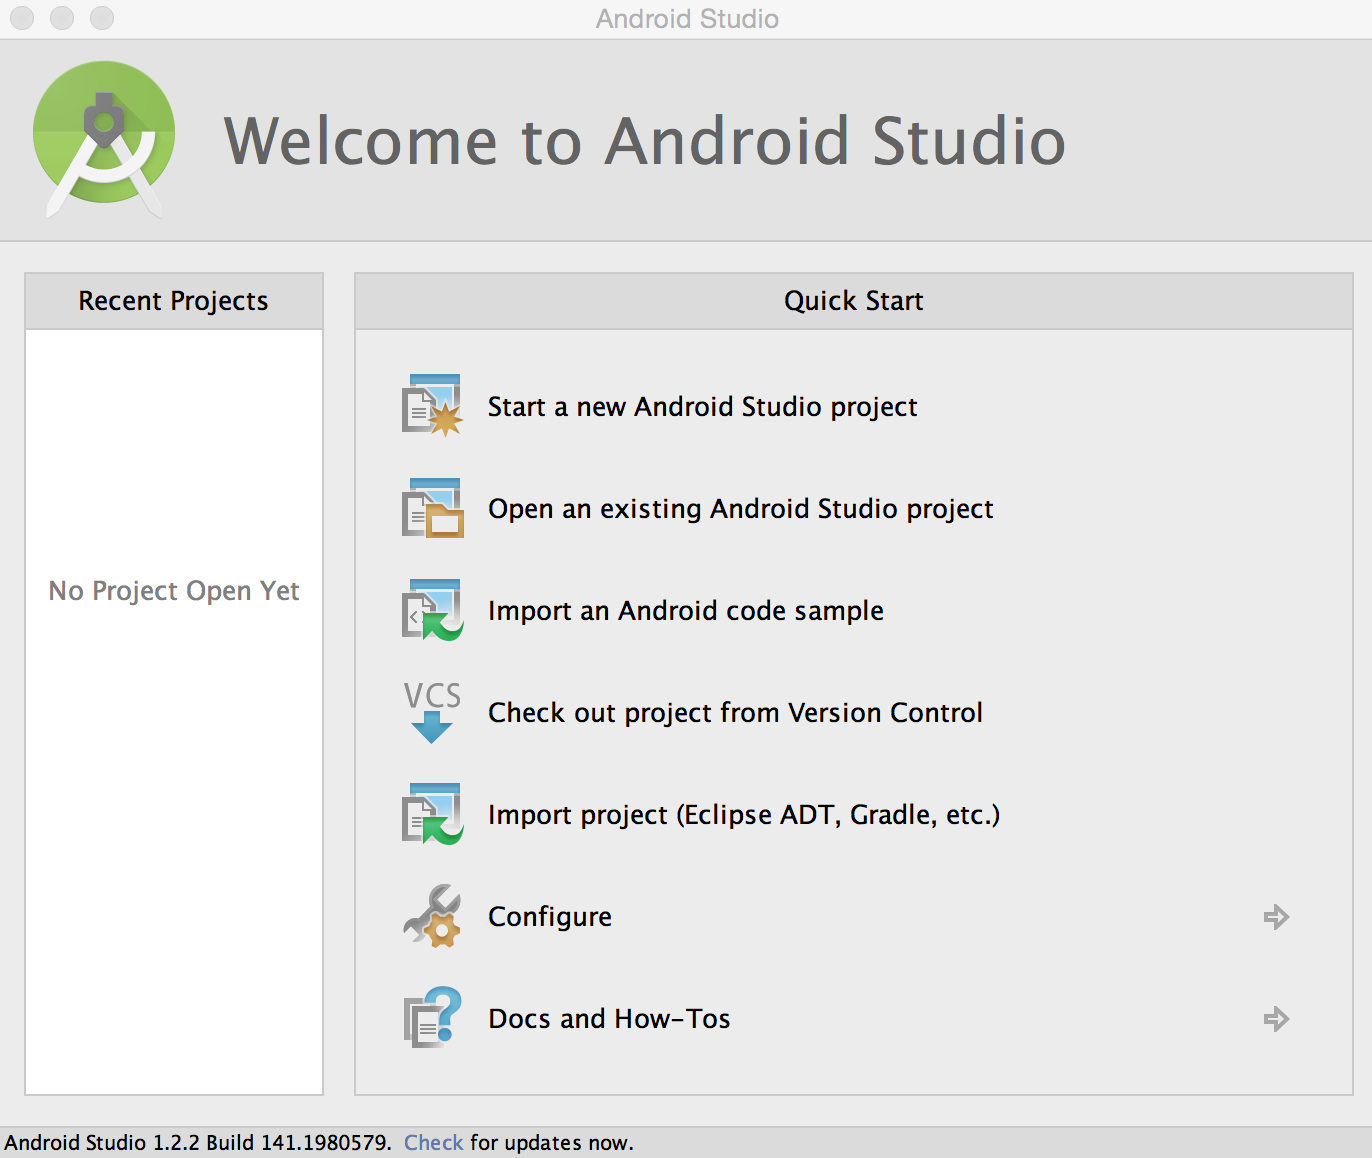
In these examples, I'll be using the XML-based first_app we built here.
At this point you should get a screen that looks like this:
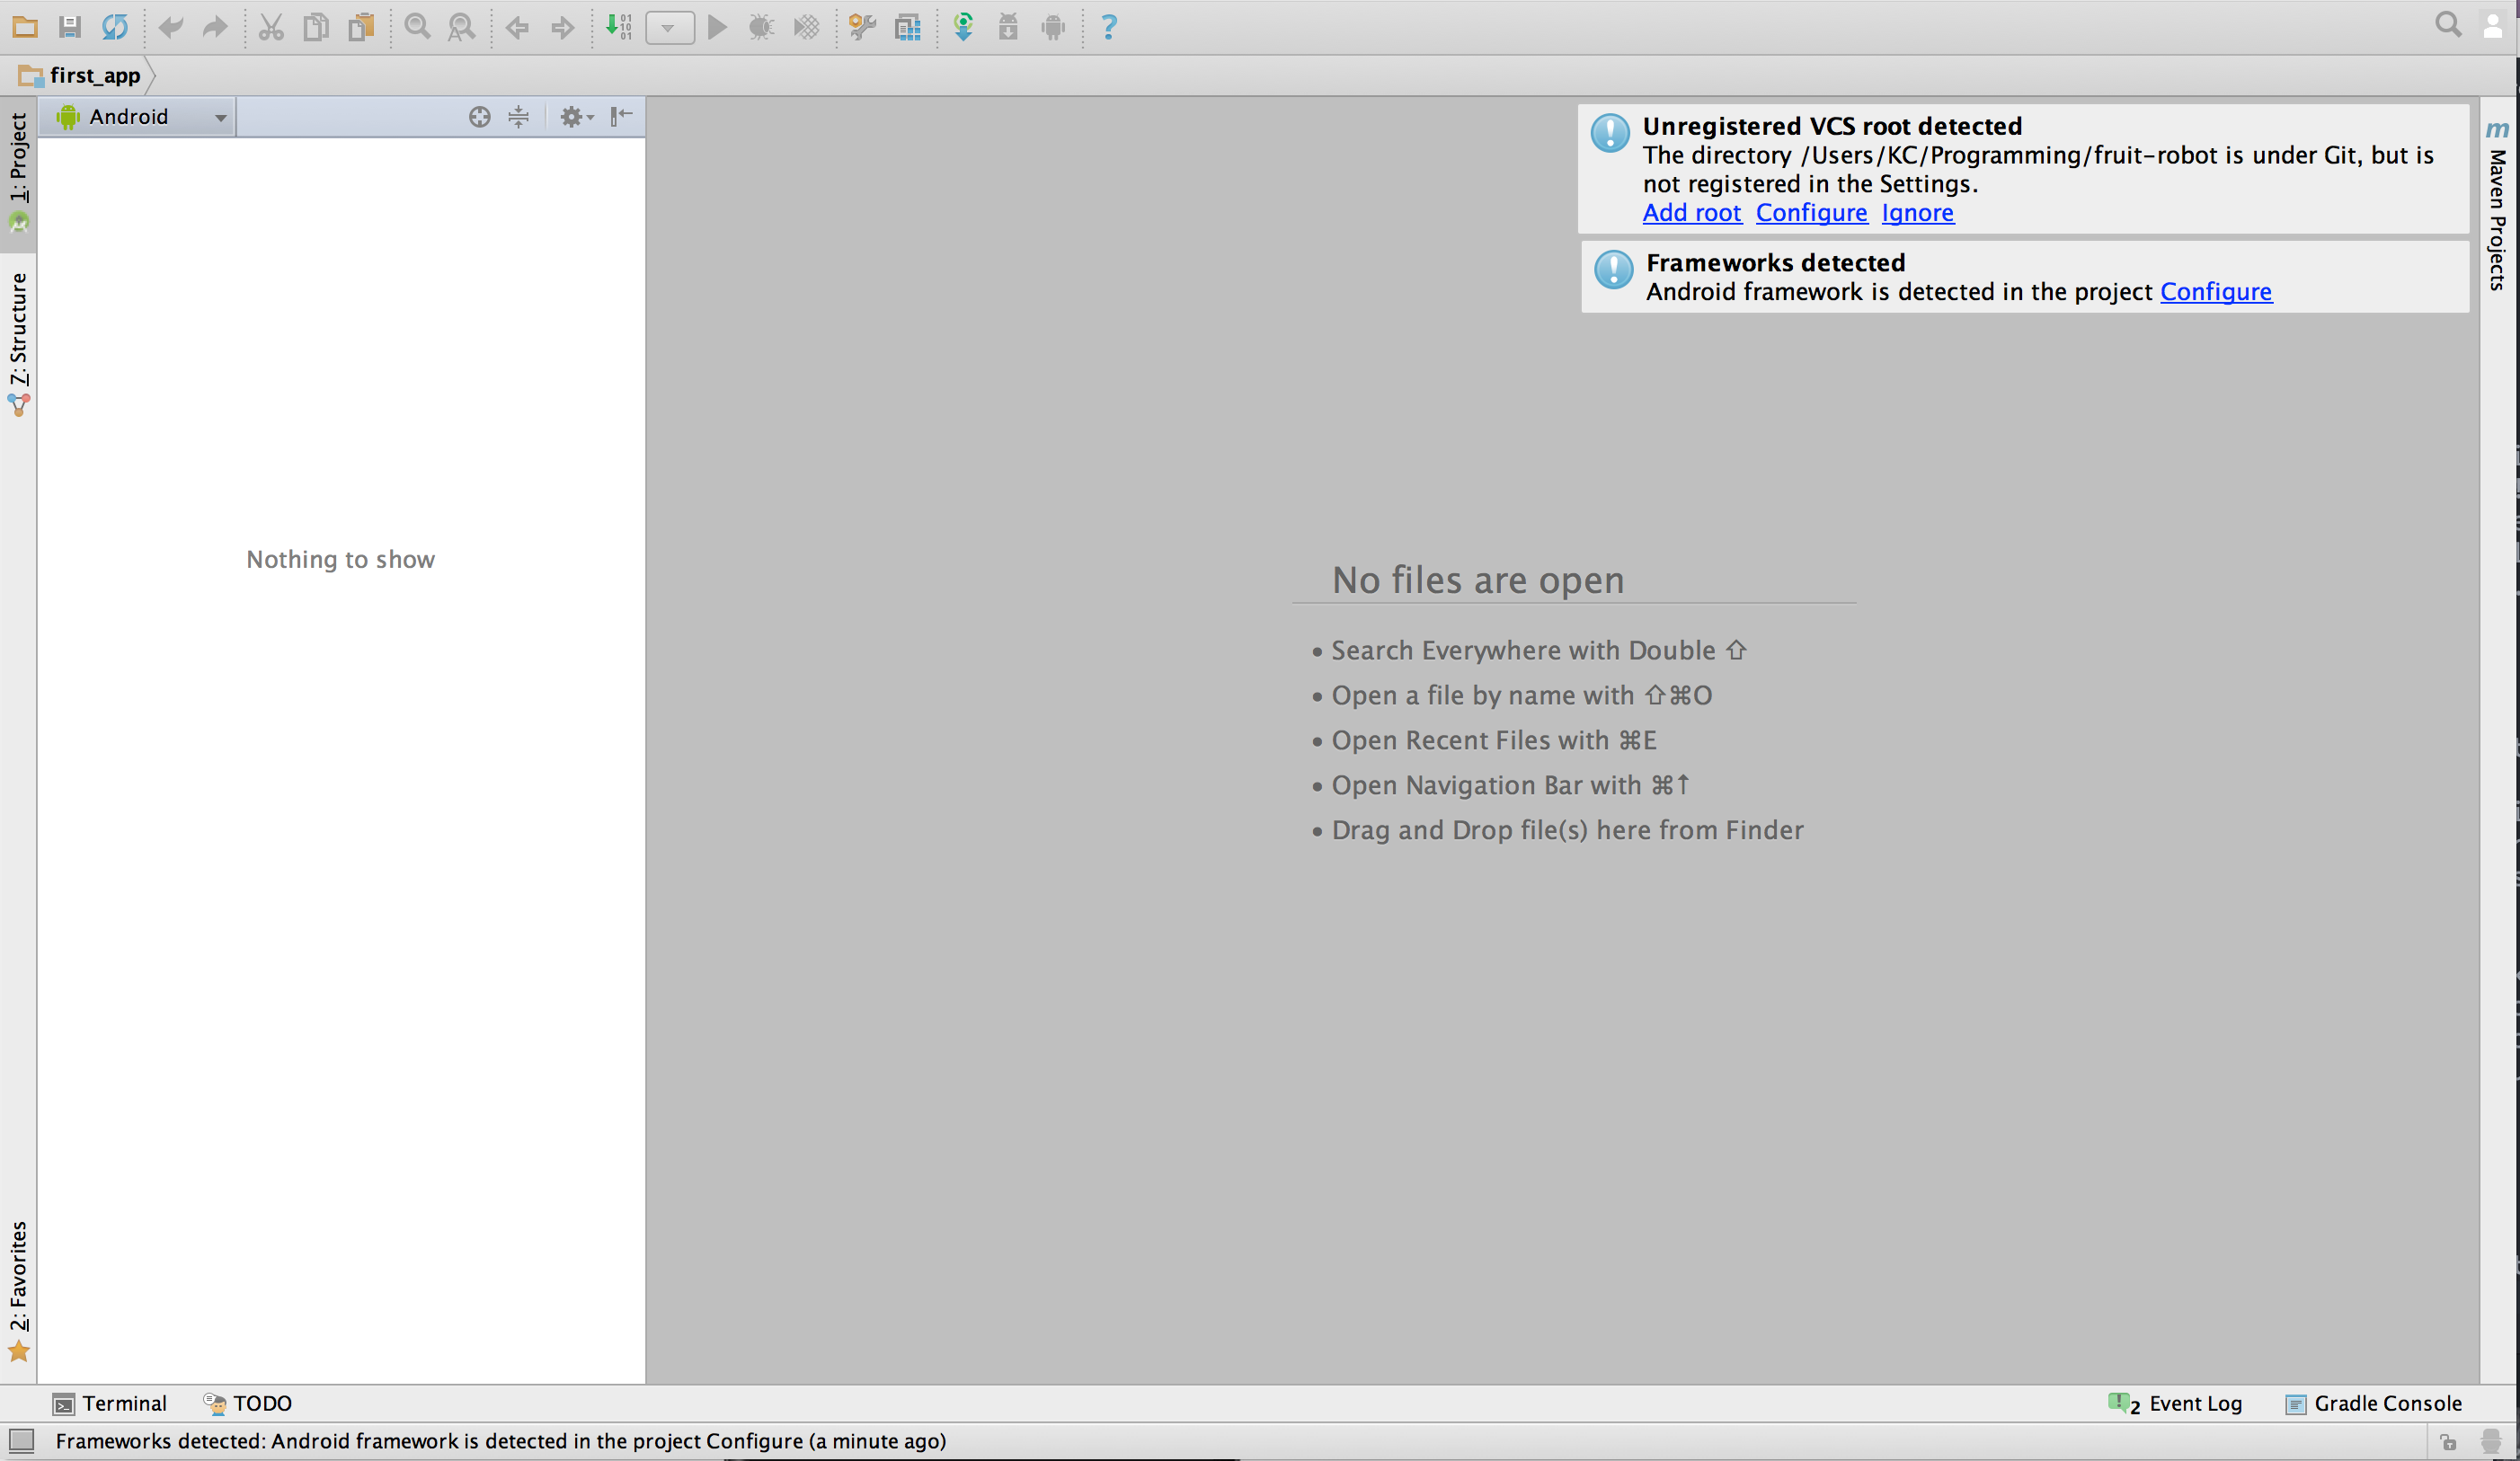
The pop-up window on the right titled "Frameworks detected" needs to be taken care of. Go ahead and click Configure. You should get the following:
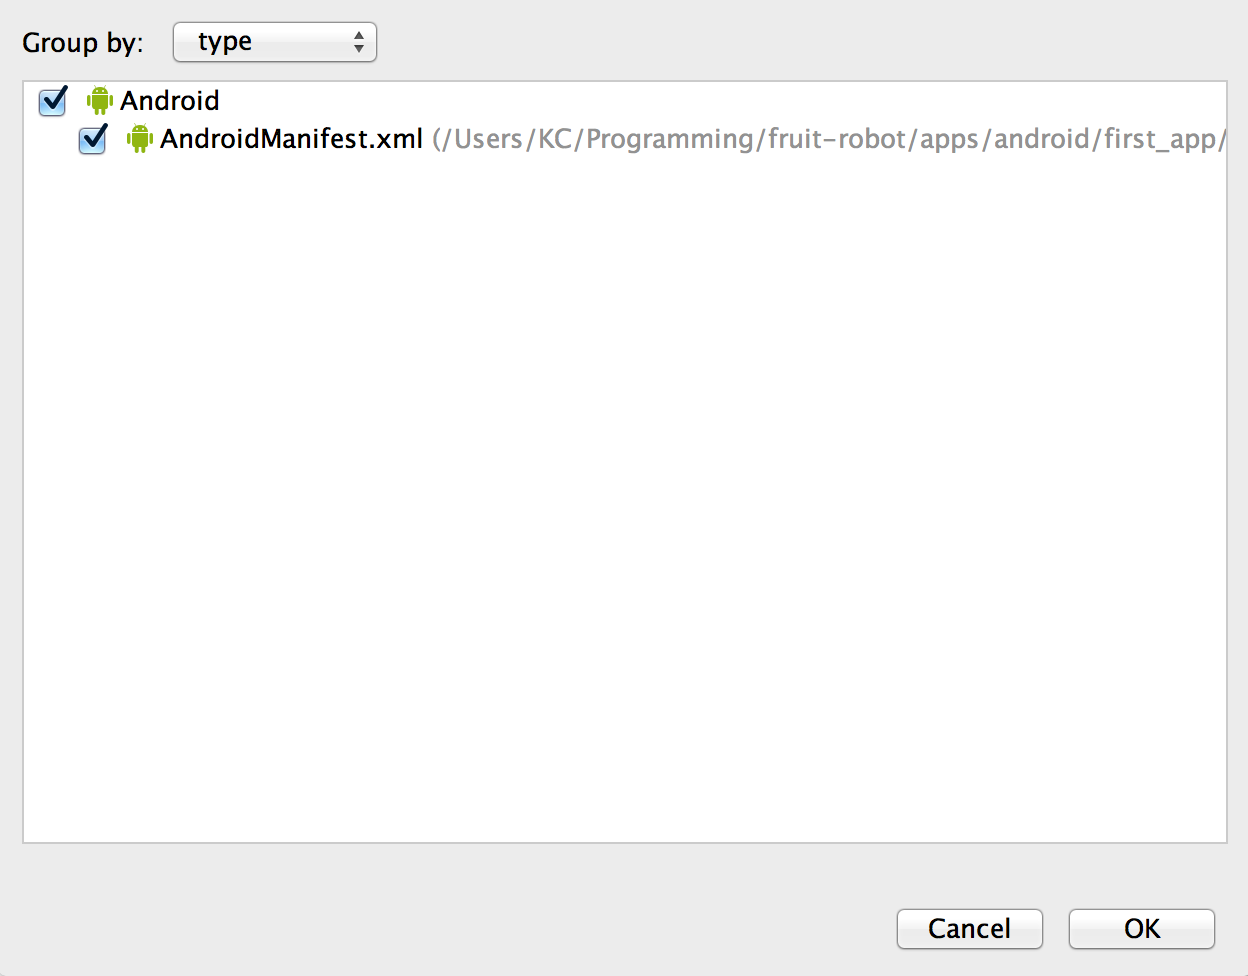
You don't really have a lot of options here so just press OK.
Basically what's happening here is the Android Studio IDE found our AndroidManifest.xml in the build/ folder and wants to use it as the framework. Normally that would be a bad idea but it's fine for us since we'll be building our app with RubyMotion not Android Studio.
Preview the Layout
With that done, we should see our first_app folder on the left. If you open it, all you'll see is an empty folder that says java:
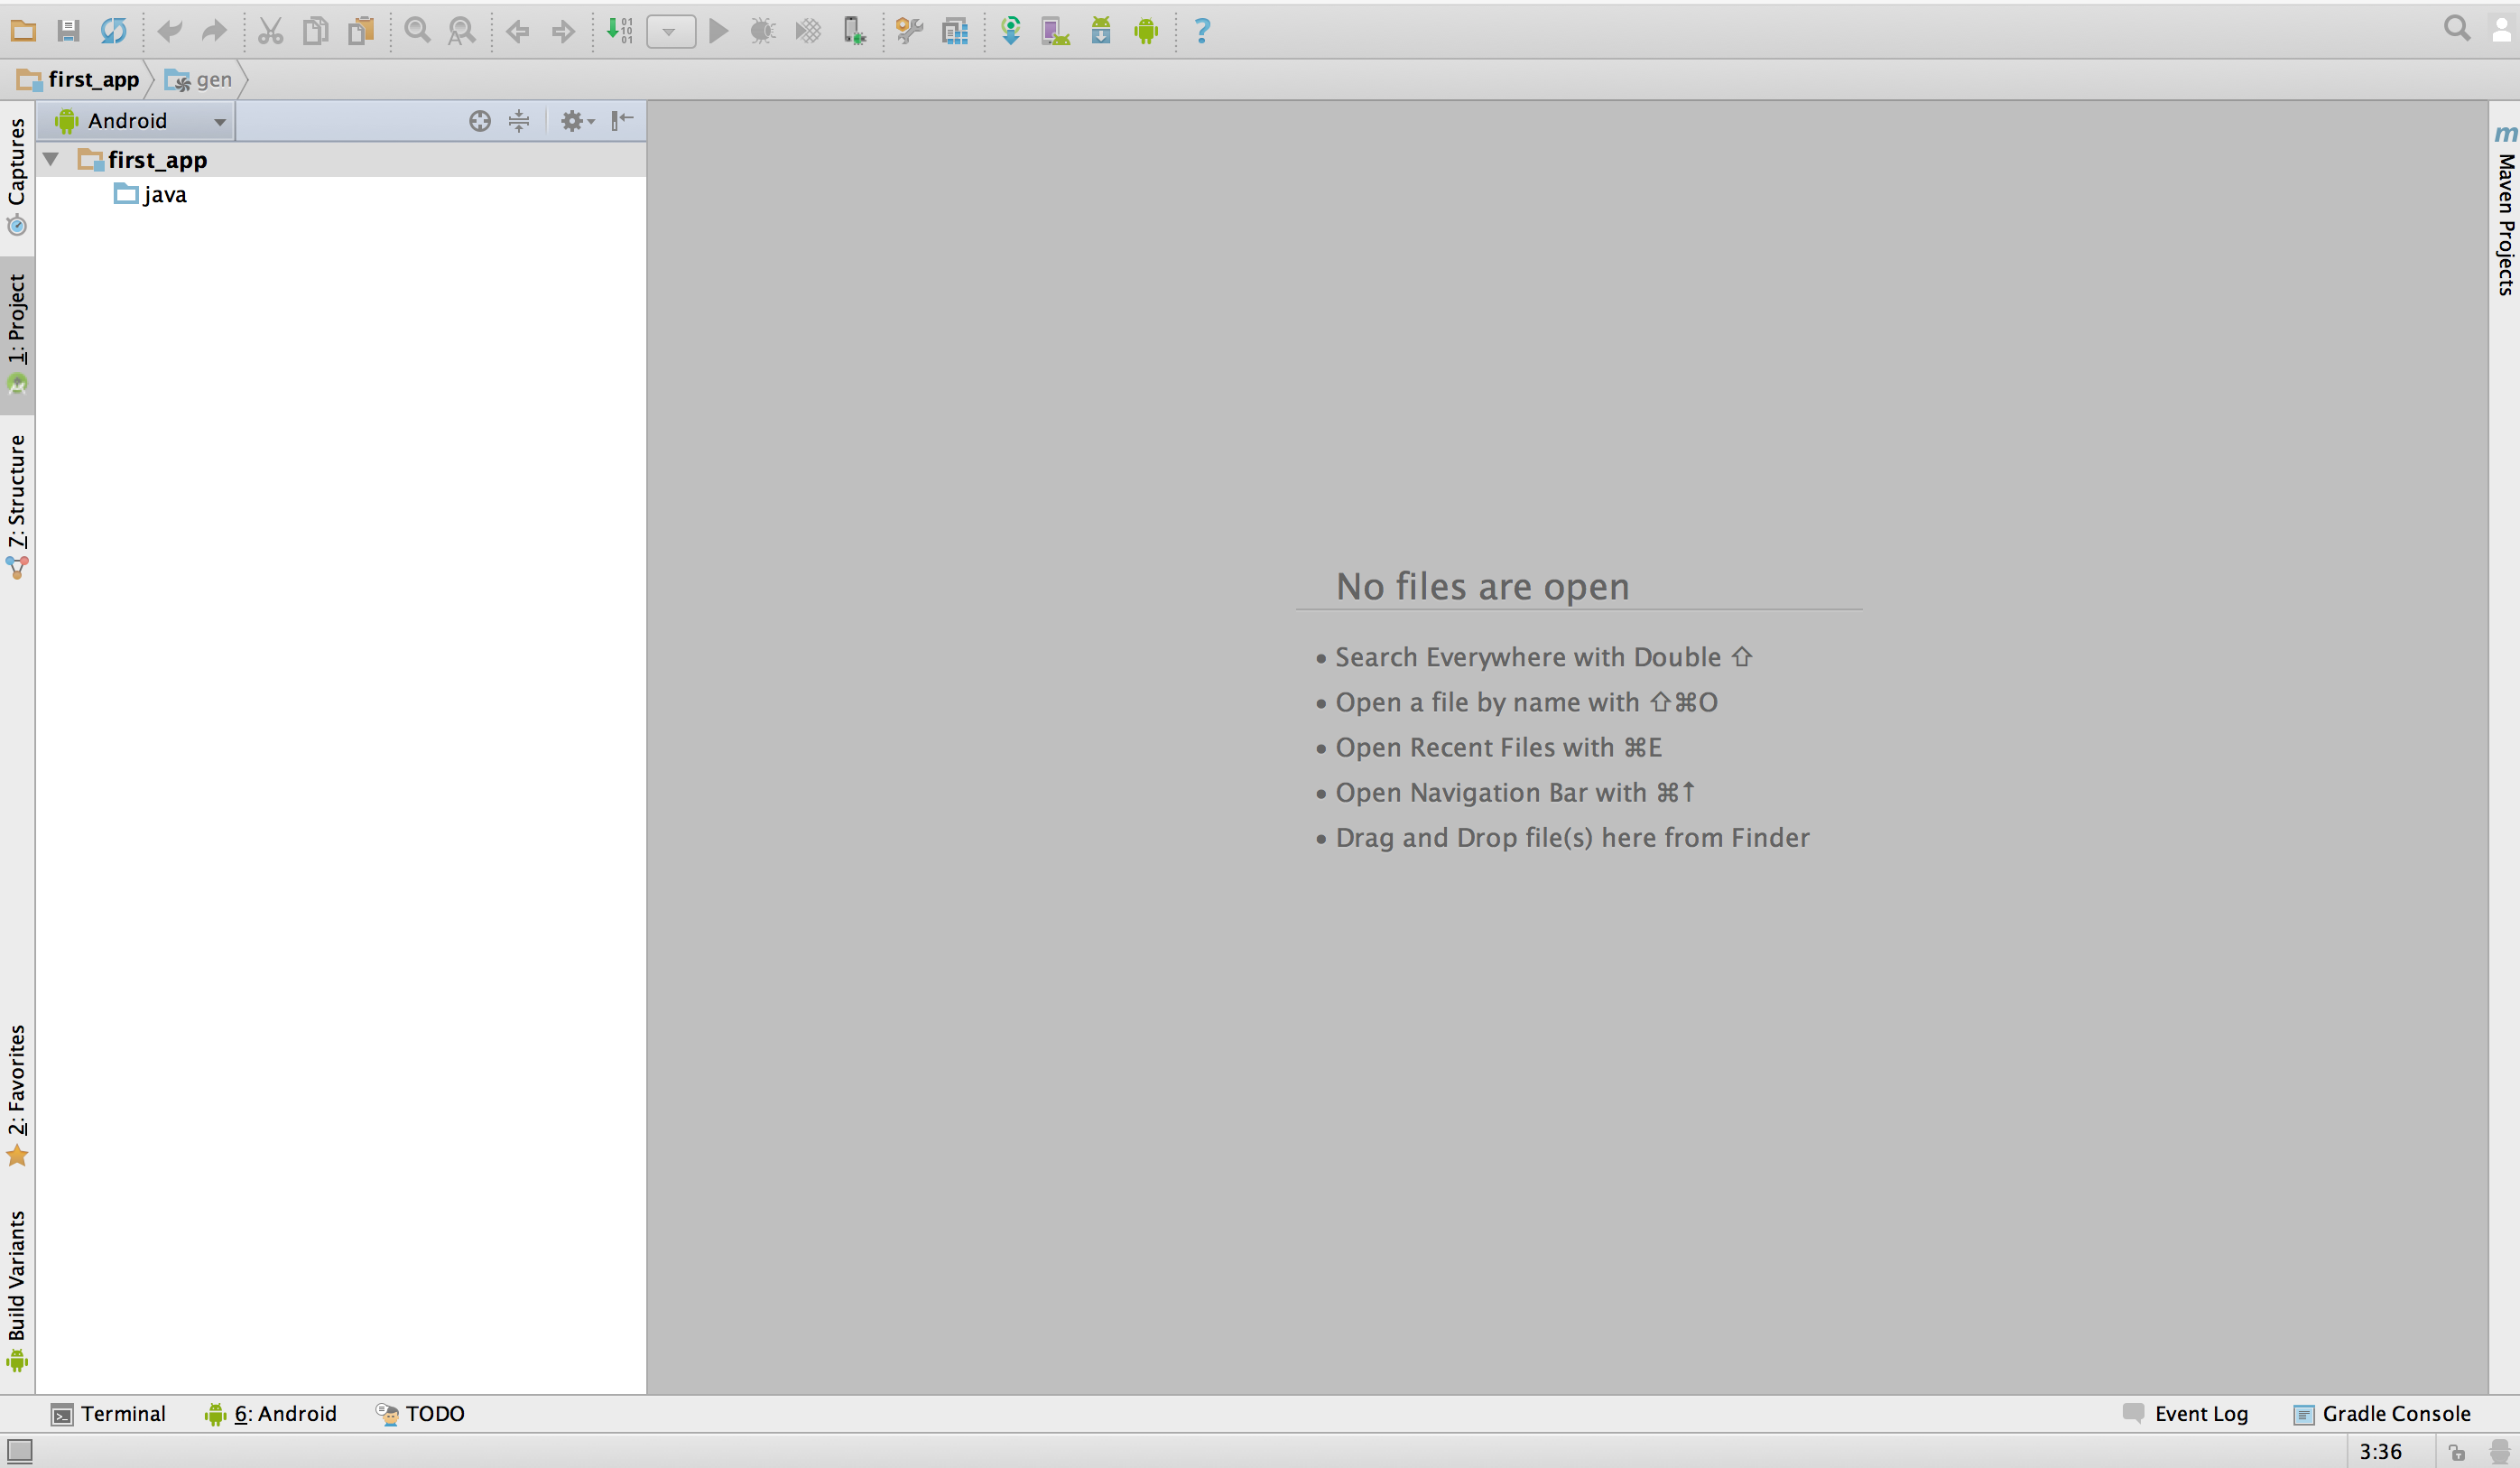
If you single-click on the first "breadcrumb" that says first_app you should get the following:
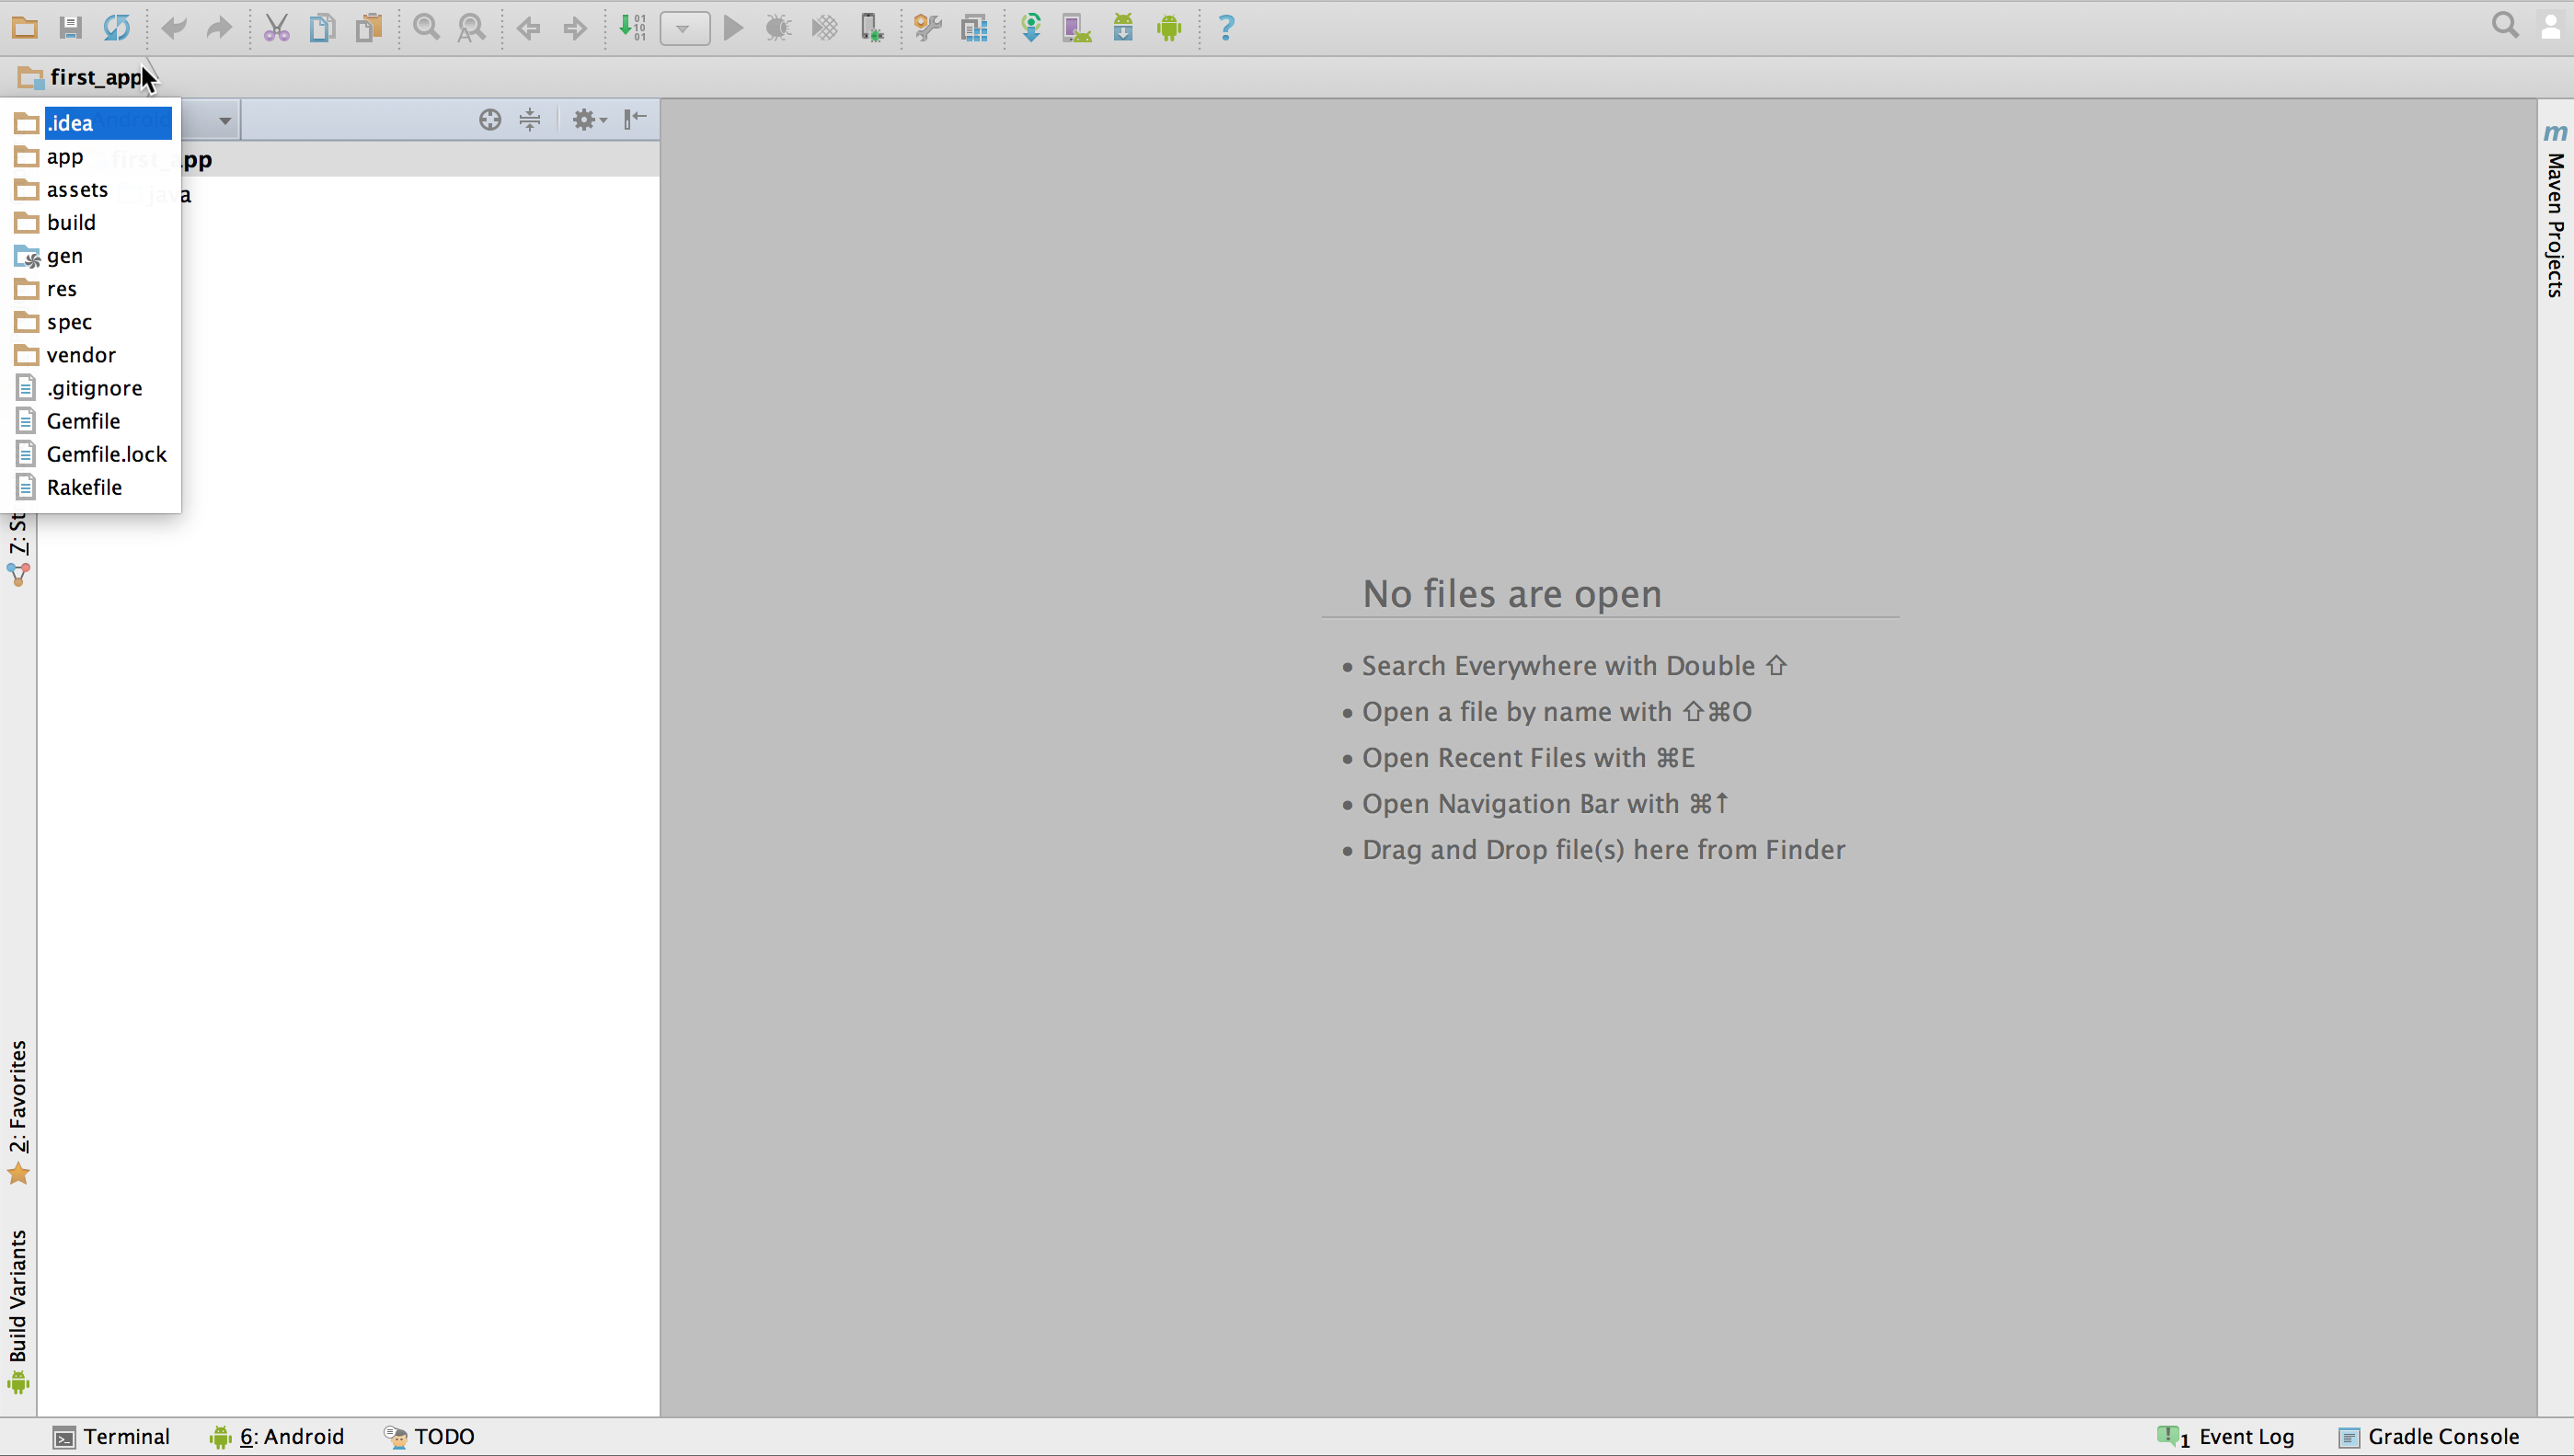
Now double-click that breadcrumb and your file structure will appear. Use it to navigate to the first_layout.xml file and double-click to open it.
You have arrived!
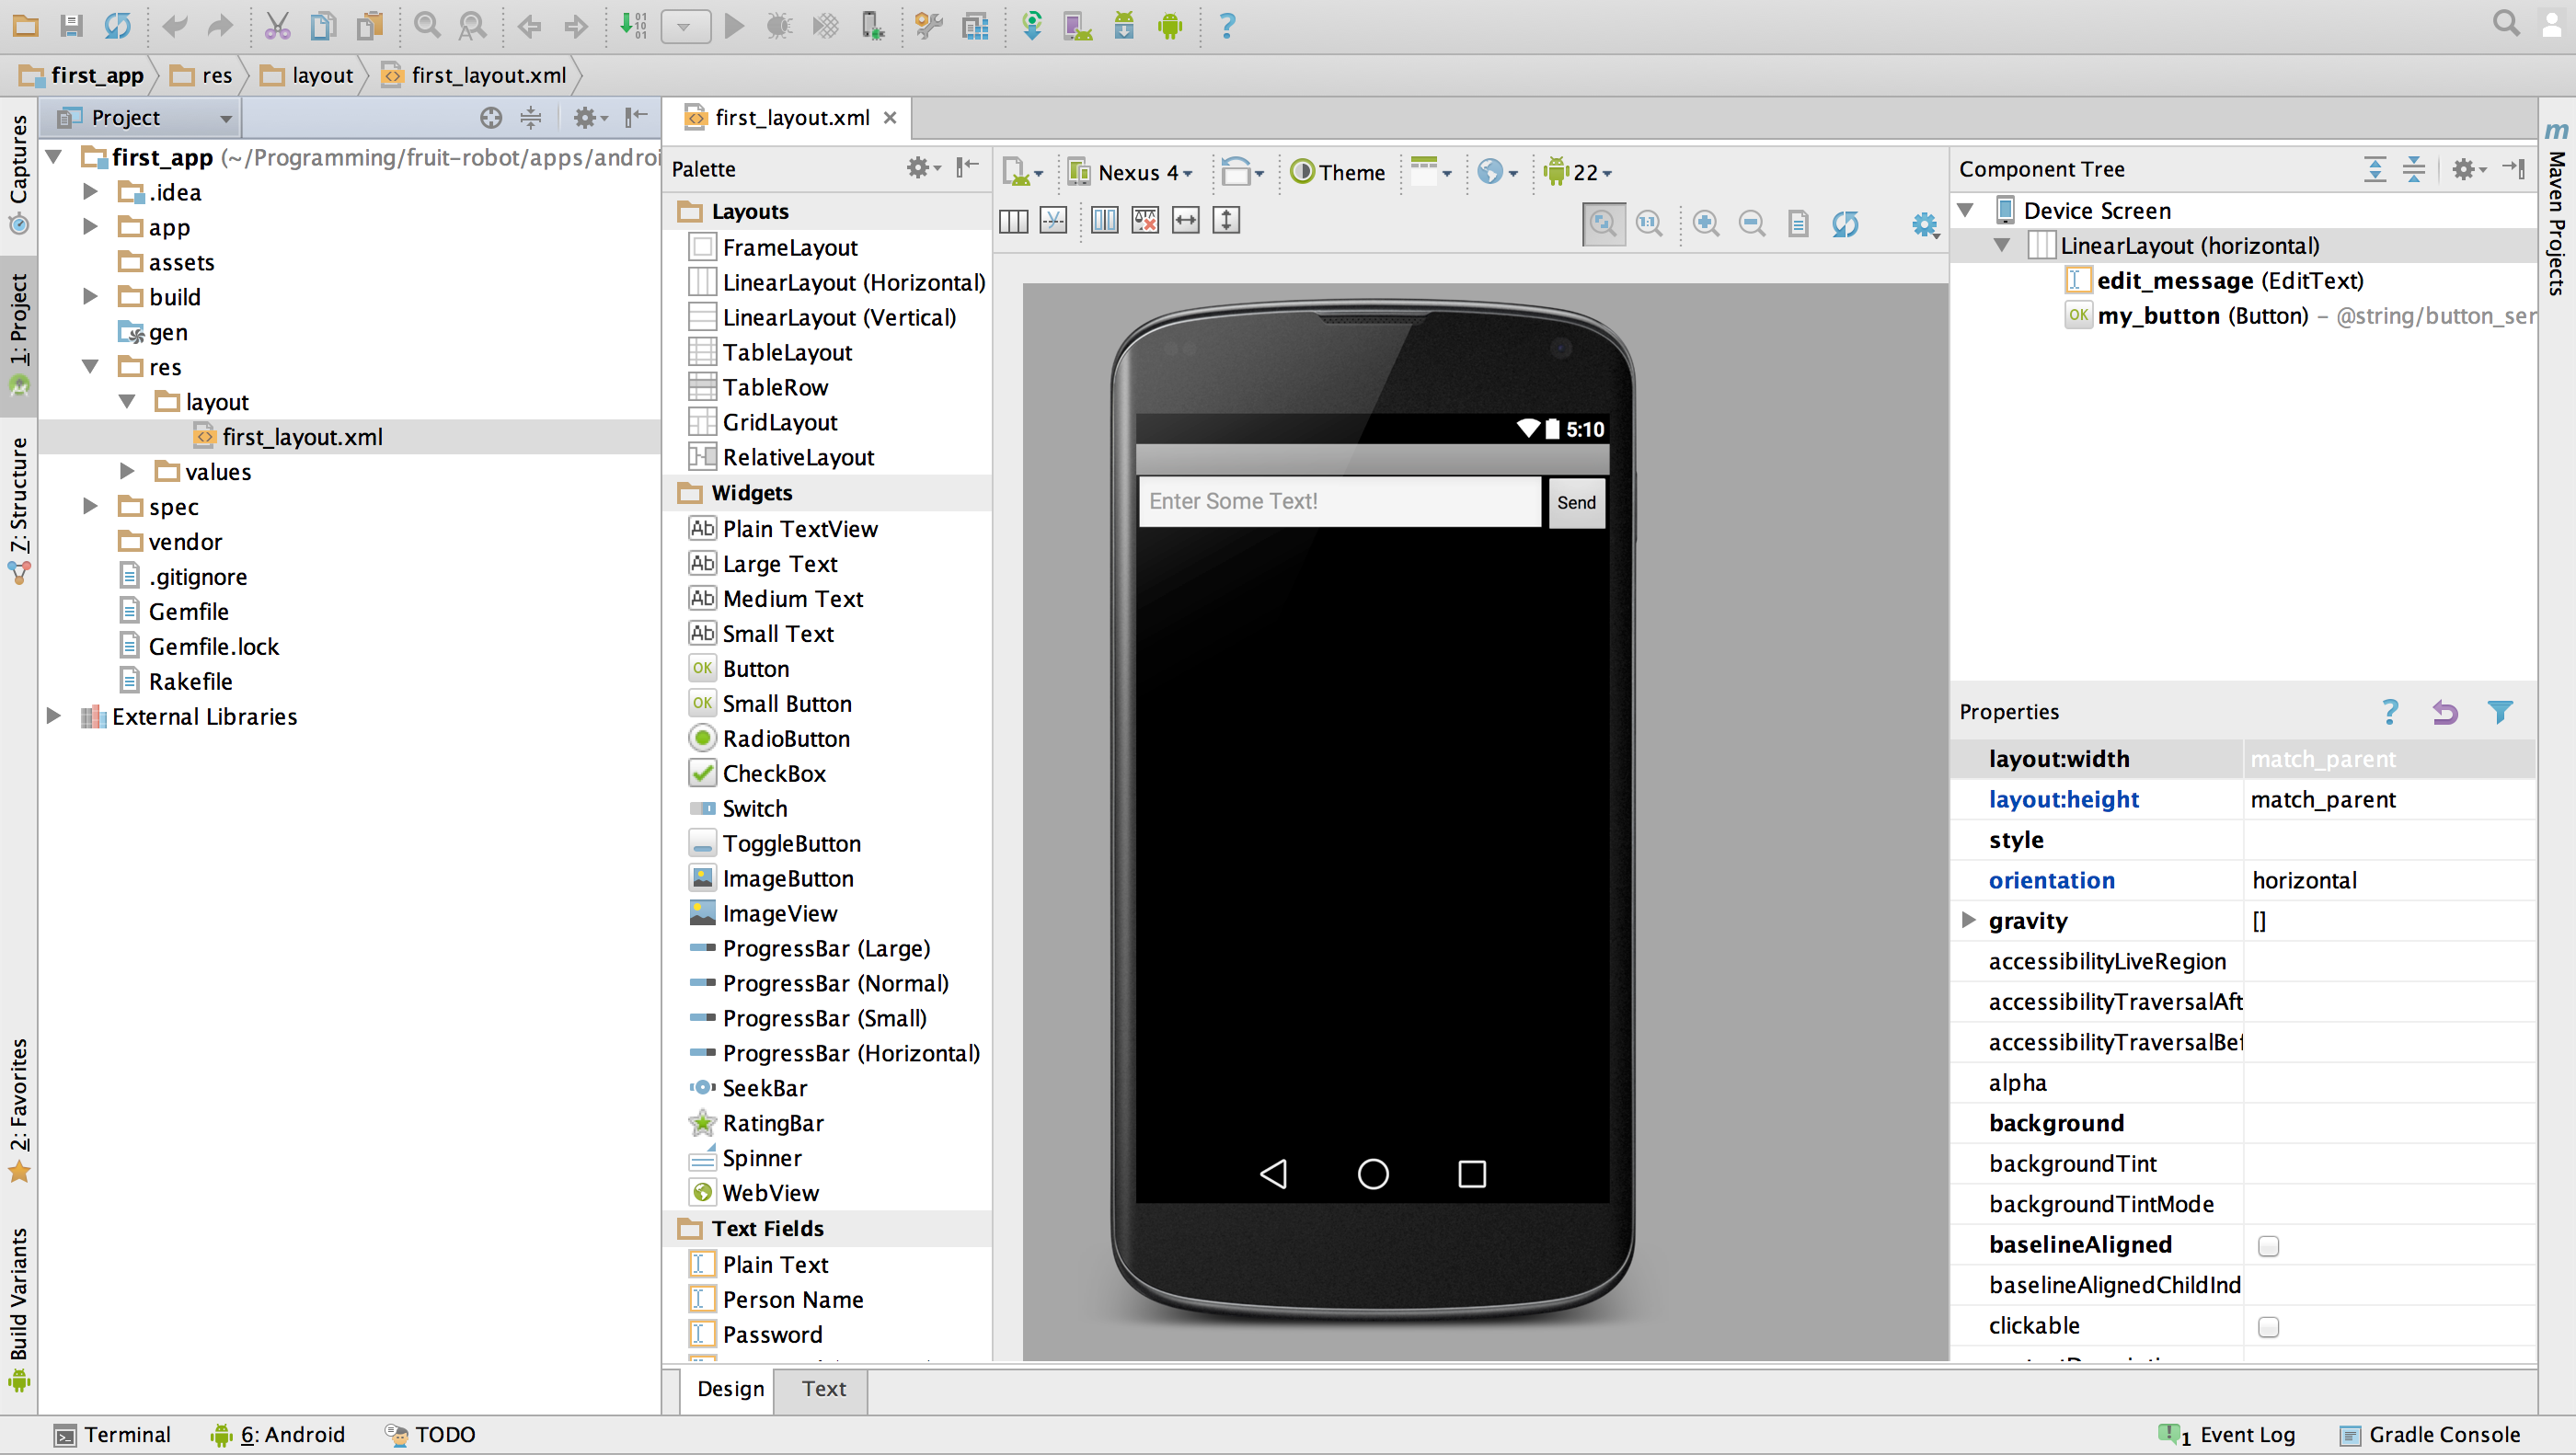
Play Around
I may add more to this tutorial at a future date, but for now I want to end with my recommendation that you play around a bit. Add text, buttons, etc. The purpose of this tool (in RubyMotion development anyways) is to give you a GUI that writes XML. So go have a ball!
As an example I just added a cancel button (not hooked up to anything):

Things to note:
I ran my app from the Android Studio terminal (lower-left corner) with
rake device. This isn't necessary but I wanted to check it out.The first time I did this, I had an error about a class already being defined. It was resolved with
rake cleanfollowed byrake device.
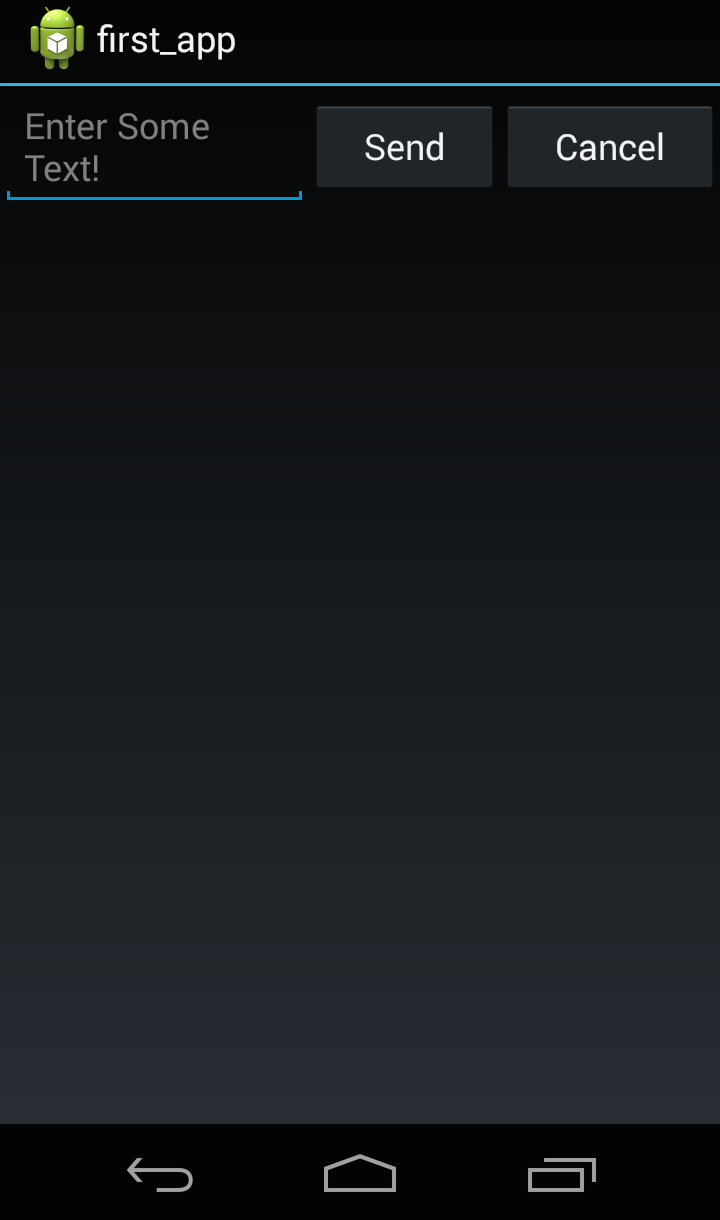
Here's what the app looks like on my phone. I must say, it was kinda nice to just do a drag and drop after all that XML!
