Building a Simple User Interface - Programmatically
OK, have you had enough jabber? Is your favorite text editor fired up and your terminal purring like a lion?
The first thing we're going to do is build a simple user interface. To start, let's create a new project like so:
$ motion create --template=android first_app
Let's go into the new directory that was created and open up app/main_activity.rb.
class MainActivity < Android::App::Activity
  def onCreate(savedInstanceState)
    super
  end
end
For this app, the goal is to have the user input some text, push a button, and have it displayed in a new window. This is based (loosely) on a training from the android developer website. You may find it helpful to read through that tutorial to get a feel for similarities and differences between RubyMotion and traditional app development.
Programmatic
One of the main differences between what I present in this lesson and what you'll see in those tutorials is that I make absolutely no use of XML (yay!). This is sorta frowned on in the Android community because XML is Android's way of enforcing an MVC approach to app development (do read that Wikipedia article if you've never heard of MVC before).
As a new Rubyist, I've essentially learned two things by osmosis from the community:
puts 'Hello World'- XML is bad. Bad! Don't touch it. It is bad.
So I'd like to avoid XML if possible, but we may find as we go that in the Android API, XML isn't the worst thing in the world and it's preferable to doing some things programmatically.
And so, as an attempt to avoid XML, and with the known side-effect of making a case for it (at least for Android development), let's try to build a user interface (the V in MVC) without XML! After we've done that we'll do it the XML way so that you can see both sides of the coin and use the right tool at the right time.
Activities
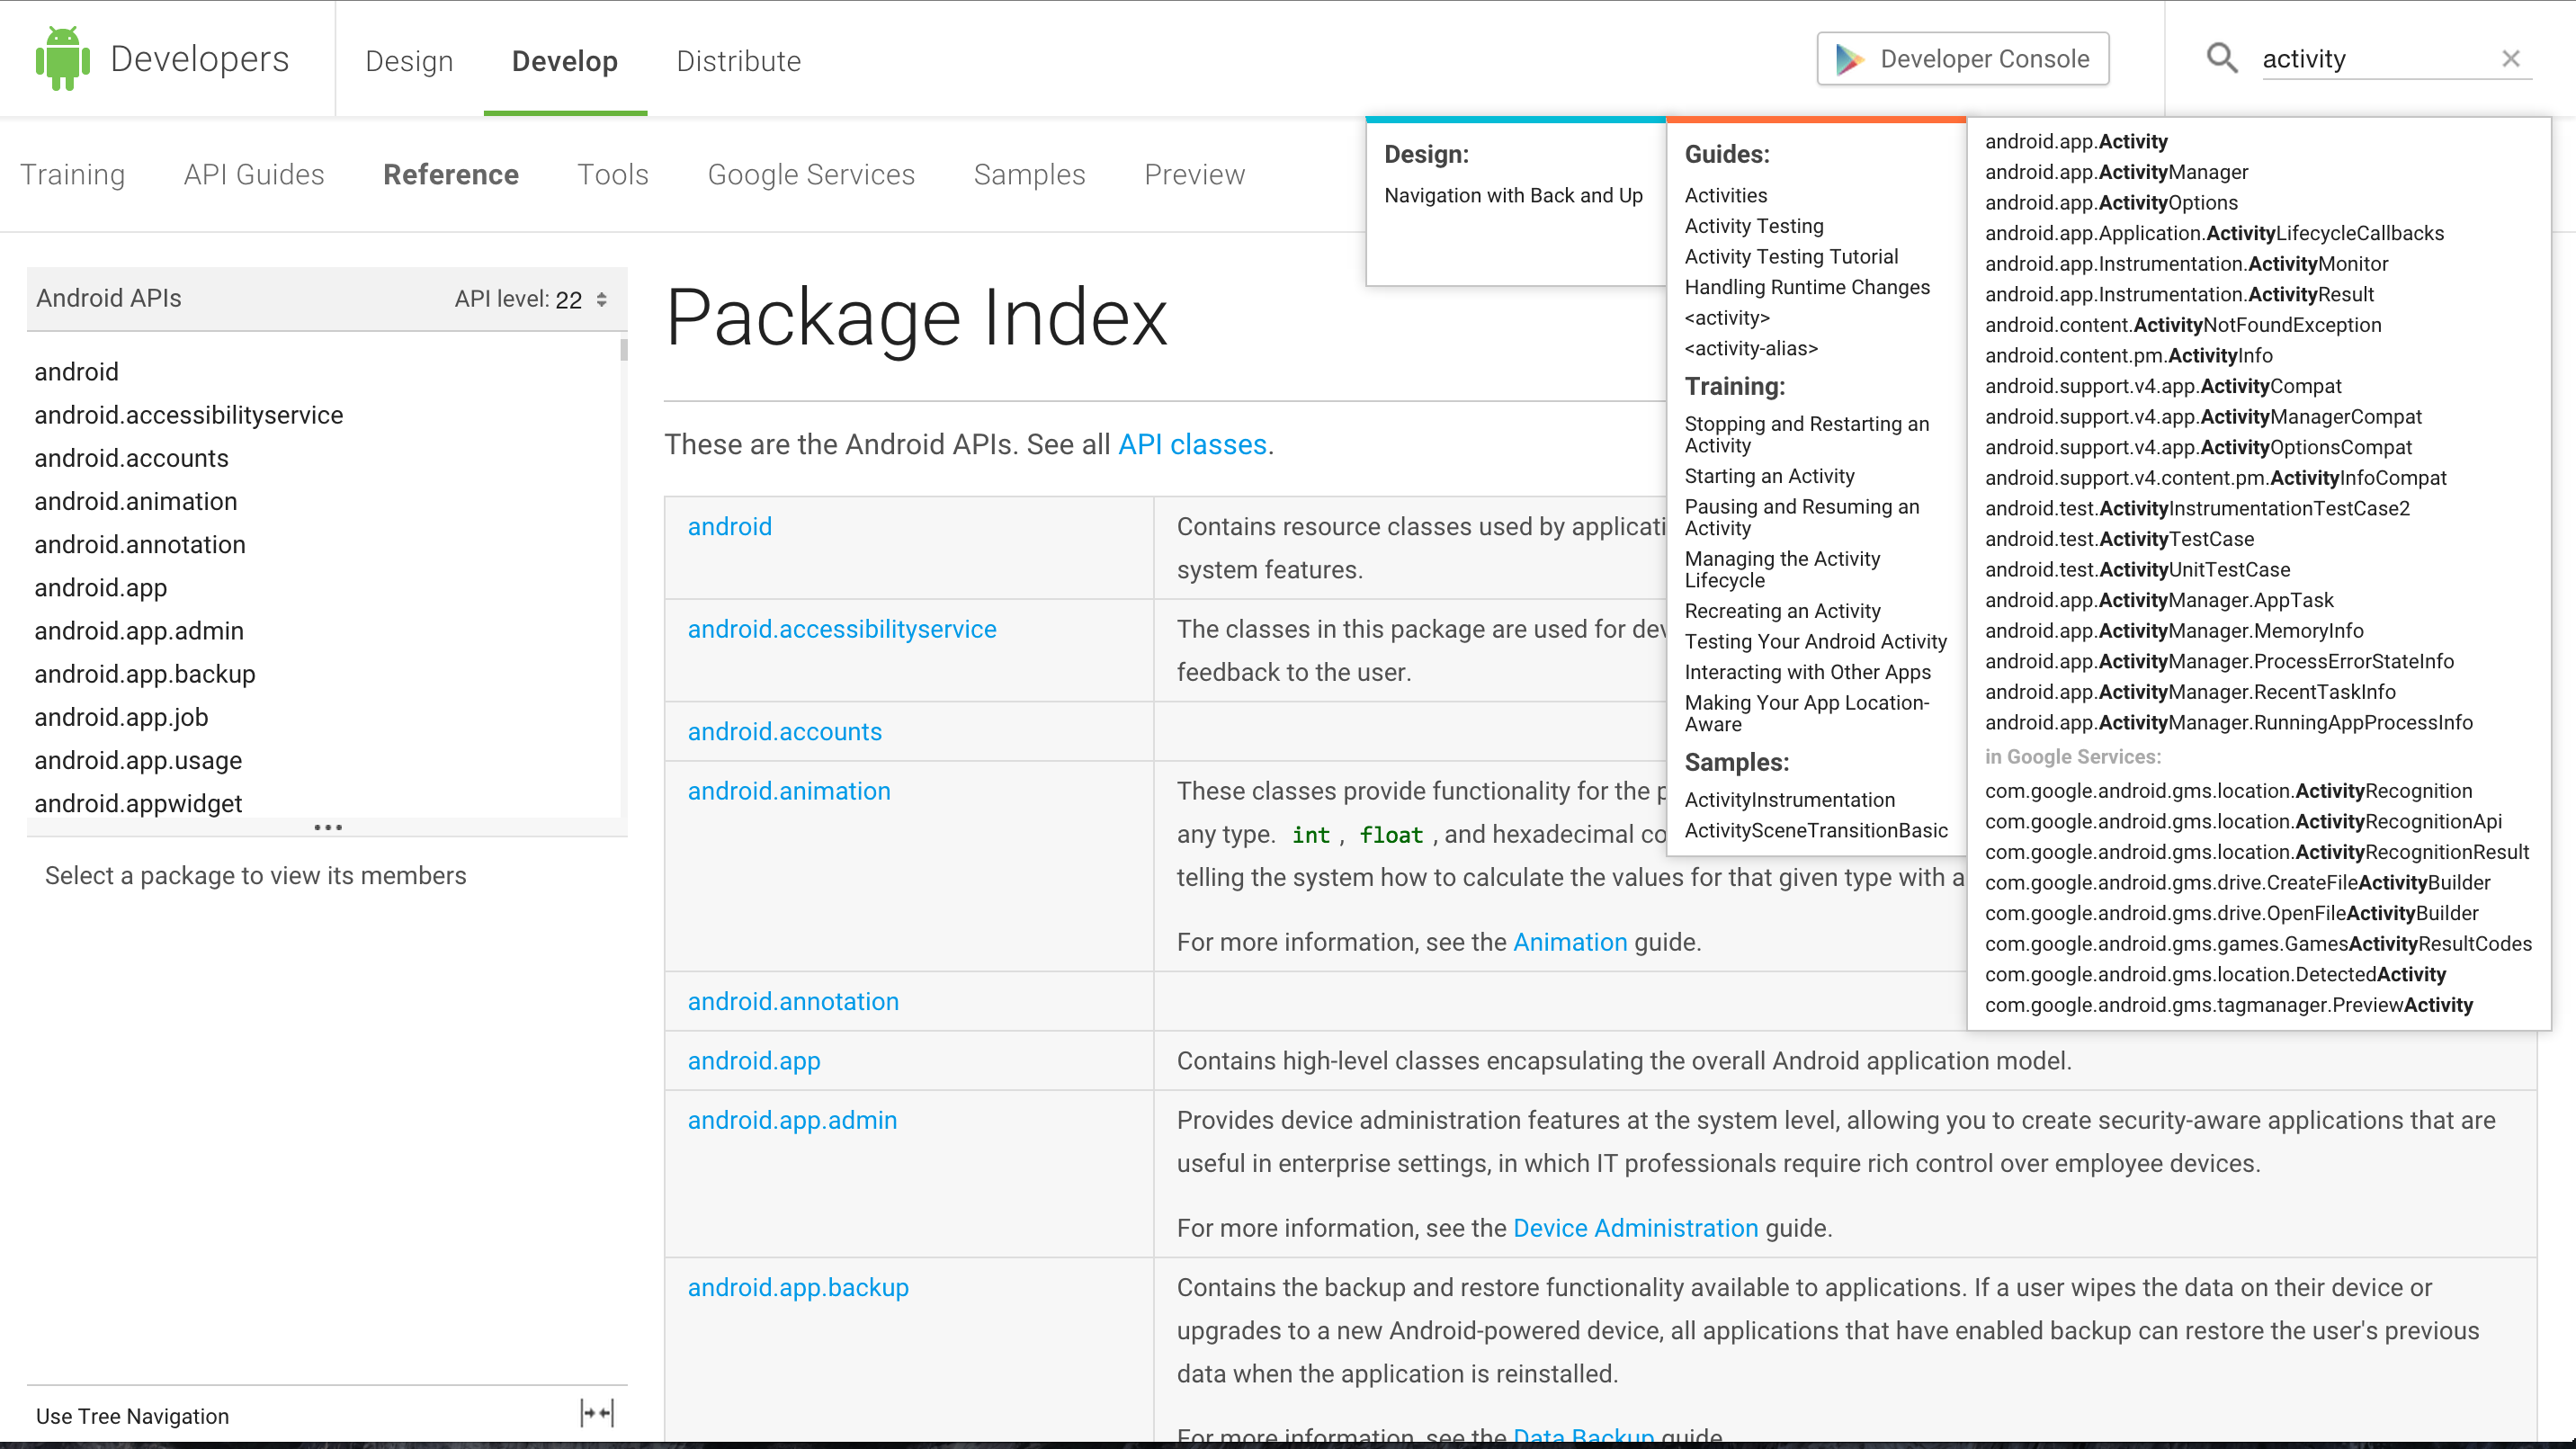
Hopefully by now you've had a chance to read both the guide on activities and have perused the reference on them. You can quickly access either by searching the Android developer website for the word activity in the top right corner.
From these guides you will have learned that an activity is the basic unit of display in Android OS architecture. If you want to show the user something, then you had better put that something into an activity.
Views
As explained in the Activity reference:
Almost all activities interact with the user, so the Activity class takes care of creating a window for you in which you can place your UI with
setContentView(View)
So we've got to build a view and attach it to the window.
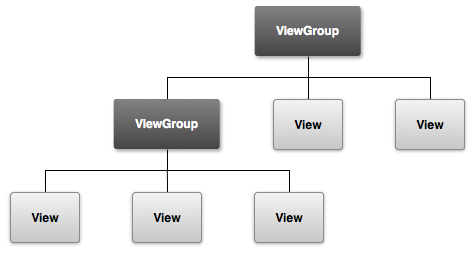
The view that we'll be using today is the LinearLayout. Reading through the guide a bit you'll learn that a LinearLayout is a view group that we can use to combine several UI elements together:
We'll use the horizontal orientation like so:
layout = Android::Widget::LinearLayout.new(self)
layout.orientation = Android::Widget::LinearLayout::HORIZONTAL
Go ahead and fire that up and you should see . . . nothing, because the layout hasn't been set as the content view of the activity (also because it's empty).
More Methods: get and set
Note that orientation= is not a method defined on the LinearLayout class according to the docs. But we do have a setOrientation. So can we use that instead?
layout.setOrientation(Android::Widget::LinearLayout::HORIZONTAL) # success
Similarly, the getOrientation method can be substituted for orientation.
You'll find it (almost) always true that a Java getter method can be replaced with the Ruby-like equivalent by dropping
get from the beginning of the method name, and the setter can be replaced by a method= syntax. Like so:
getMaxHeight => maxHeight
setMaxHeight => maxHeight=
There's a note on this and other methods in the RubyMotion docs.
Add a TextField
OK, let's put a View into that ViewGroup. We want the app to accept some text as an input
and do something with it. A good widget for this is the EditText.
We create one and add it to the view like so:
edit_text = Android::Widget::EditText.new(self)
layout.addView edit_text
and now we can put it all together by setting the layout as the contentView of
the activity
class MainActivity < Android::App::Activity
  def onCreate(savedInstanceState)
    super
    layout = Android::Widget::LinearLayout.new(self)
    layout.orientation = Android::Widget::LinearLayout::HORIZONTAL

    edit_text = Android::Widget::EditText.new(self)
    layout.addView edit_text

    self.contentView = layout
  end
end
Please note that the self above is required in the call to contentView! (See
what happens when you leave it off.)
Now, when I run that with rake device I get the following:
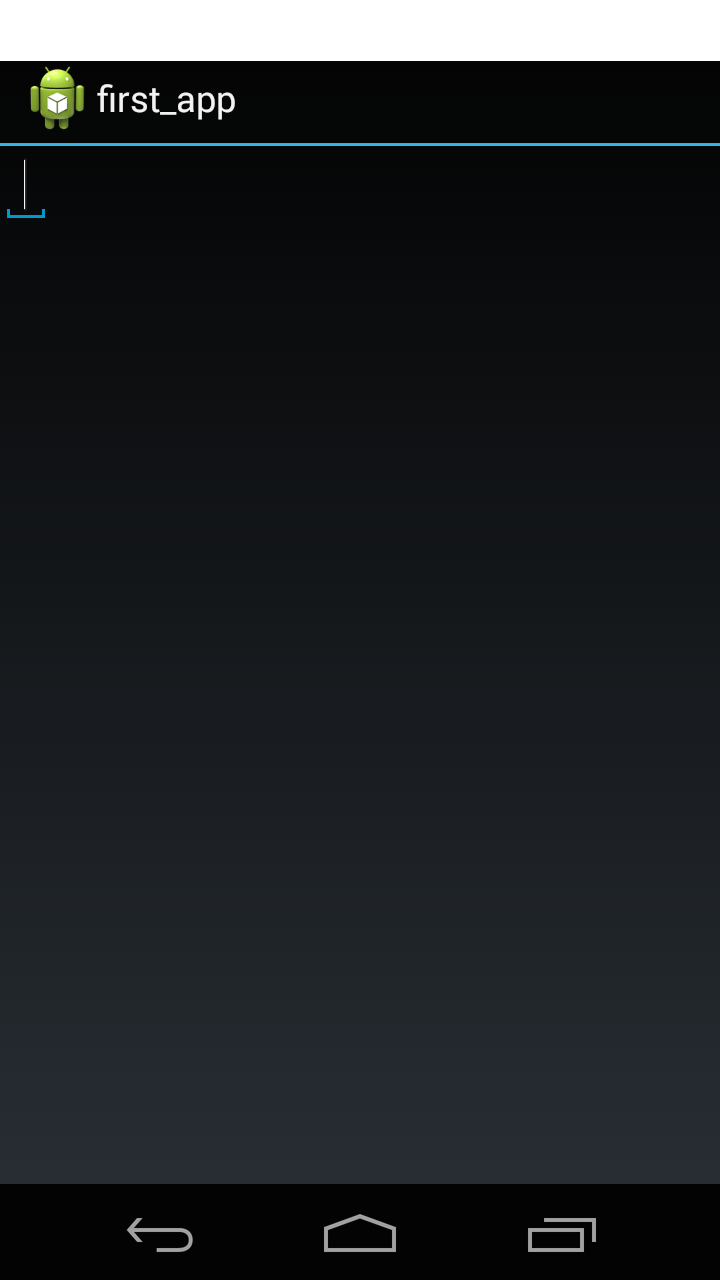
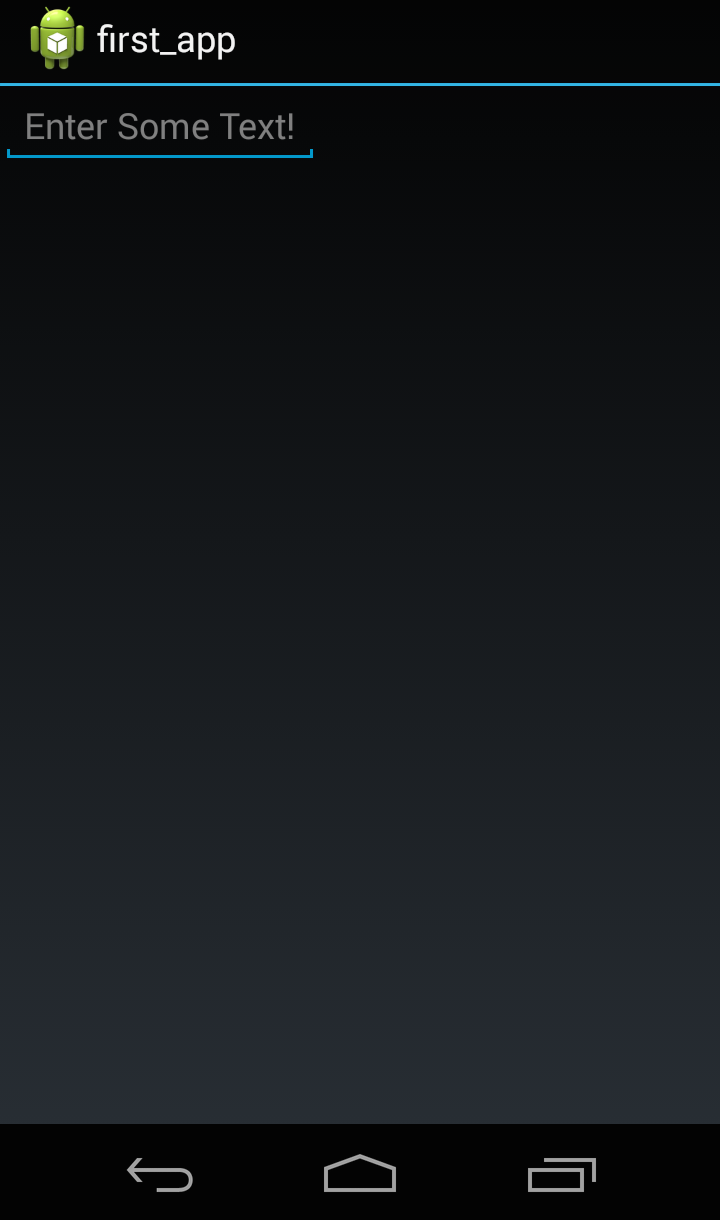
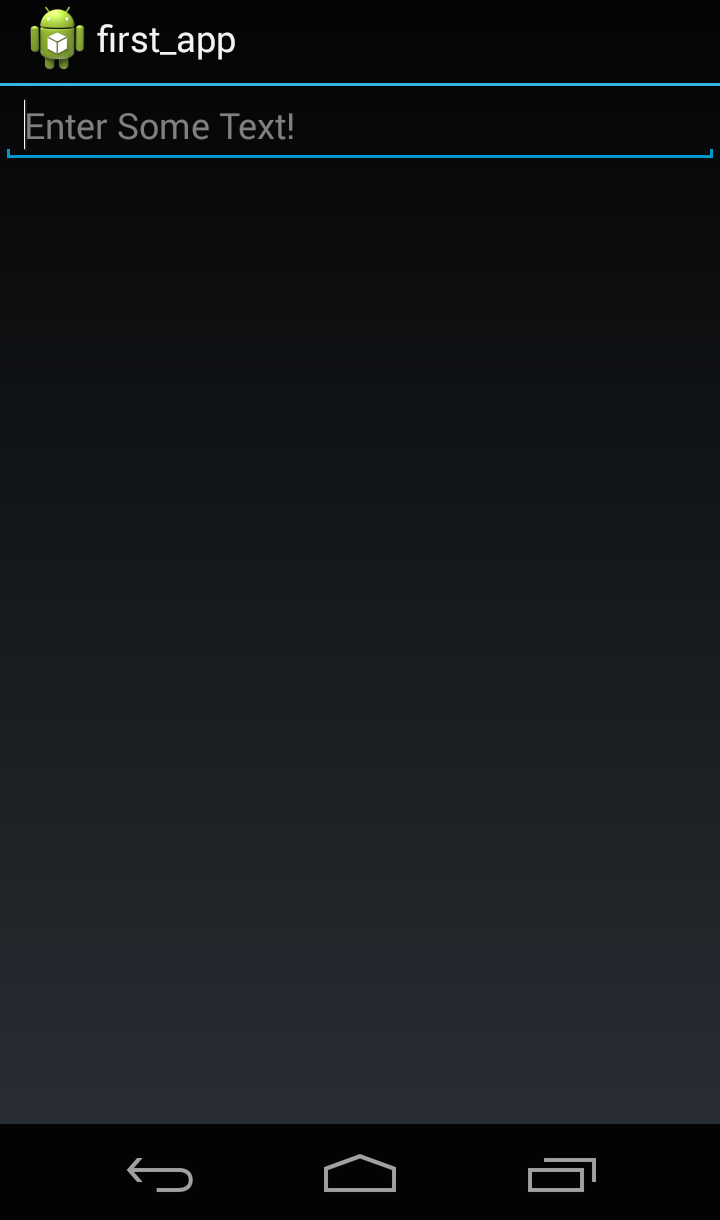
We can spruce that up a bit by putting some default text in the box like this:
edit_text.hint = 'Enter Some Text!'
Digging a Little Deeper
Since this is the first lesson, let's keep going into detail and exploring around. These are just suggestions for things to play around with. I definitely encourage you to ask lots of questions, experiment and search for answers in the docs.
Constructor vs Initialize
Both Java and Ruby create instances of classes with the keyword
new. For Ruby, new calls the initialize method that you define
and in Java new calls up a constructor of that class
So far I've taken for granted that we create instances of widgets like the LinearLayout or
EditText by calling .new(self). To see what's really going on here, let's
take a look at the EditText reference. We'll focus on the part that explains the constructors:
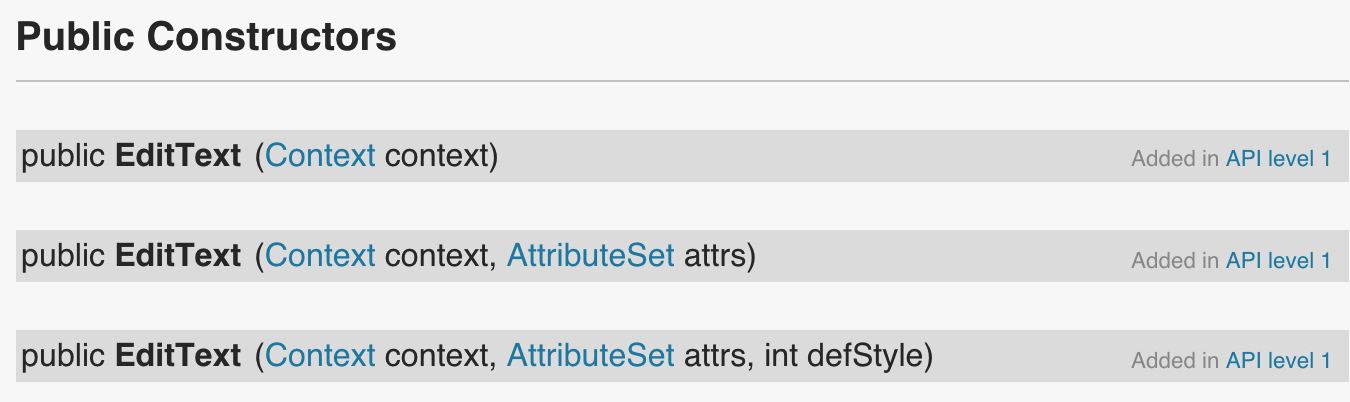
From these we see first that we always need a Context. The Activity is a Context so we pass in self. We can also see that there are more ways to create this object by passing in more arguments. We'll save these for a different lesson.
More Methods: Programmatic Size Control
Our EditText looks kinda stumpy. Let's say we want to make it wider, like the full width of the container.
We could just use the setWidth method, but that method wants an exact pixel value. What if we wanted to set the width to match the parent container?
To do this programmatically we essentially have two routes: set size before the widget has been added to the activity (its container) or set the size afterwords.
Before
The before route is surprisingly verbose. Because we want to interact with the LinearLayout our EditText belongs to,
(so that we can match its width, or set a margin / padding relative to it) we need to talk to the widget's setLayoutParams method.
This method accepts a LayoutParams object as input, so we'll need to create one of those using the same class as the parent view (LinearLayout). Looking at the constructors, we can init our LayoutParams with an explicit width and height just like the setWidth method:
layout_params = Android::Widget::LinearLayout::LayoutParams.new(200, 200)
and then set the EditText's layout params
edit_text.layoutParams = layout_params

Of course, instead of arbitrarily choosing 200 pixels as the width and height of the EditText, we'd rather use some constants that the LayoutParams class provides us. Putting that all together we get a whole lot of typing:
class MainActivity < Android::App::Activity
  def onCreate(savedInstanceState)
    super
    layout = Android::Widget::LinearLayout.new(self)
    layout.orientation = Android::Widget::LinearLayout::HORIZONTAL

    edit_text = Android::Widget::EditText.new(self)

    layout_params = Android::Widget::LinearLayout::LayoutParams.new(Android::Widget::LinearLayout::LayoutParams::MATCH_PARENT, Android::Widget::LinearLayout::LayoutParams::WRAP_CONTENT)
    edit_text.layoutParams = layout_params

    layout.addView edit_text

    self.contentView = layout
  end
end
Experiment - Can you find a way to use the
MATCH_PARENT constant in the EditTexts setWidth method directly?
This works, but it's kinda painful. Which is why right now is a good time to repeat something I said before: XML may or may not be your friend, but when it comes to the Android way, you may find that the programmatic way is prickly (to say the least).
After
If we've already added the edit_text to the linear_layout via addView then we can take
a small shortcut:
edit_text = Android::Widget::EditText.new(self)
layout.addView edit_text
layout_params = edit_text.layoutParams
layout_params.width = Android::Widget::LinearLayout::LayoutParams::MATCH_PARENT
Sidenote - At first, I hadn't expected
width= to be available on a LayoutParams object since it's not listed as a method (inherited or otherwise) in the docs. After a bit of exploring, it looks like the clue to that method's availability is in the Inherited Fields section of the reference. It's also noteworthy that in this case, there is no corressponding setWidth method!
Add a Button
OK, now for the last piece of this "simple" interface: a button!
button = Android::Widget::Button.new(self)
button.text = 'Send'
layout.addView button
If you add that to your activity and run it you'll see . . . nothing.
Why?
Because the edit text is taking up the full width of the horizontal layout, so the button is getting covered up. To see what I mean, try hard-coding that width to something like 200 again.
This is where we introduce another method from LayoutParams for handling the size
of an object on the screen: weight.
Weight
There's a great little explanation from the developer training that this tutorial is based on:
The weight value is a number that specifies the amount of remaining space each view should consume, relative to the amount consumed by sibling views. This works kind of like the amount of ingredients in a drink recipe: "2 parts soda, 1 part syrup" means two-thirds of the drink is soda. For example, if you give one view a weight of 2 and another one a weight of 1, the sum is 3, so the first view fills 2/3 of the remaining space and the second view fills the rest. If you add a third view and give it a weight of 1, then the first view (with weight of 2) now gets 1/2 the remaining space, while the remaining two each get 1/4.
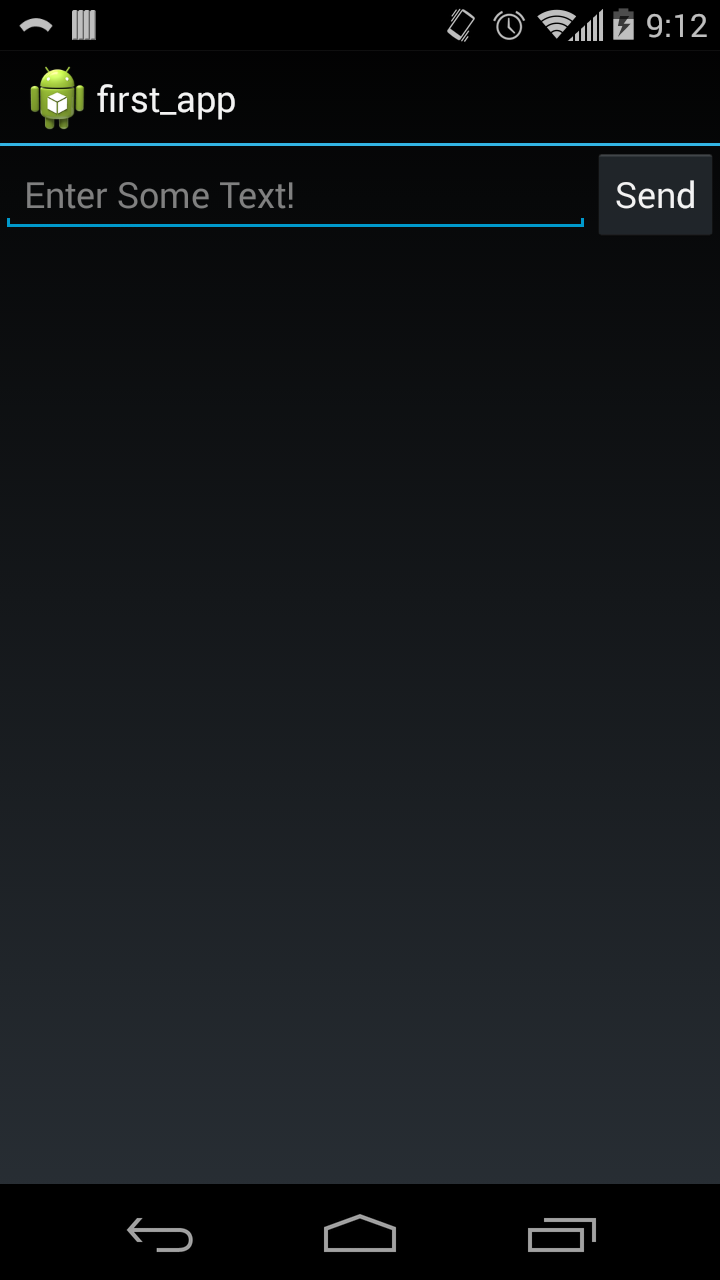
So if we want the EditText to fill the width of the screen, but still leave room for the button
we'll give it a weight of 1 like so:
class MainActivity < Android::App::Activity
  def onCreate(savedInstanceState)
    super
    layout = Android::Widget::LinearLayout.new(self)
    layout.orientation = Android::Widget::LinearLayout::HORIZONTAL

    edit_text = Android::Widget::EditText.new(self)
    edit_text.hint = 'Enter Some Text!'
    layout.addView edit_text
    layout_params = edit_text.layoutParams
    layout_params.weight = 1

    button = Android::Widget::Button.new(self)
    button.text = 'Send'
    layout.addView button

    self.contentView = layout
  end
end
Conclusion
In this lesson we focused on how to build and manipulate a UI programmatically. The upshot is that it takes a little finagling. As promised, we'll now explore the more Android-like way of building a user interface: XML.